Installing a backup camera on an old car is simpler than you think. First, assess your vehicle’s space and choose the right camera type. Gather tools like screwdrivers, wire strippers, and a monitor. Mount the camera securely near the license plate or bumper, then run wires and connect power to the reverse light. Attach the monitor where it’s easy to see. With proper setup, you’ll have a clear view behind your car—if you continue, you’ll get all the step-by-step details.
Key Takeaways
- Choose a compatible, compact camera and mounting location that fits your vehicle’s space and design.
- Gather necessary tools, wiring supplies, and a display monitor suited for your old car’s setup.
- Mount the camera securely on the rear bumper or license plate area, ensuring a level, unobstructed view.
- Connect power to the reverse light circuit for automatic activation during reversing.
- Test the system, adjust the angle, and hide wiring for a clean, functional backup camera installation.
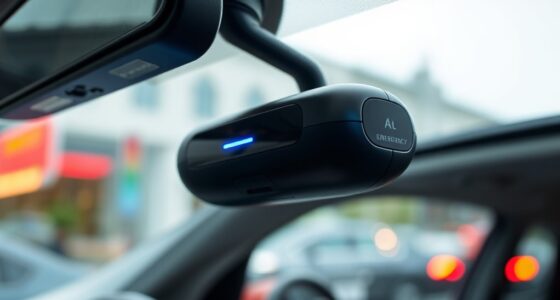
Assessing Your Vehicle and Choosing the Right Camera
Before selecting a backup camera, you need to evaluate your vehicle’s make, model, and available space. This helps guarantee vehicle compatibility, so you choose a camera that fits and works properly. Check your car’s dashboard, trunk, or rear area for mounting options. Consider camera features like wide-angle lenses for better visibility, night vision for low-light conditions, and waterproof design for durability. Some cameras are wired, while others are wireless; your vehicle’s setup will influence your choice. Measure the space behind your car to confirm the camera’s size and mounting method. Additionally, understanding European cloud innovation can provide insights into advanced, energy-efficient technology options for your backup system. By understanding your vehicle’s specifications and what features you need, you set yourself up for a smoother installation process and a more effective backup system. Being aware of compatibility requirements can help avoid potential issues during installation and ensure your camera functions reliably over time. Exploring market options for backup cameras can help you select the best model for your needs and budget. Researching installation techniques can also simplify the process and improve your overall experience. Exploring waterproof design features can also improve the longevity and performance of your camera in various weather conditions.
Gathering Necessary Tools and Supplies
Before you start installing your backup camera, you need to gather all the necessary tools and supplies. Make a checklist of essential items like screwdrivers, wire strippers, and mounting brackets, along with any accessories your camera requires. Having everything ready will make the installation smoother and more efficient. Additionally, understanding the importance of appliance maintenance plans can help you ensure your backup camera system remains in good working condition over time. Considering system troubleshooting beforehand can also help you address potential issues quickly during installation or use. Being familiar with travel tech & electronics basics can further simplify the process and help you keep your system running smoothly.
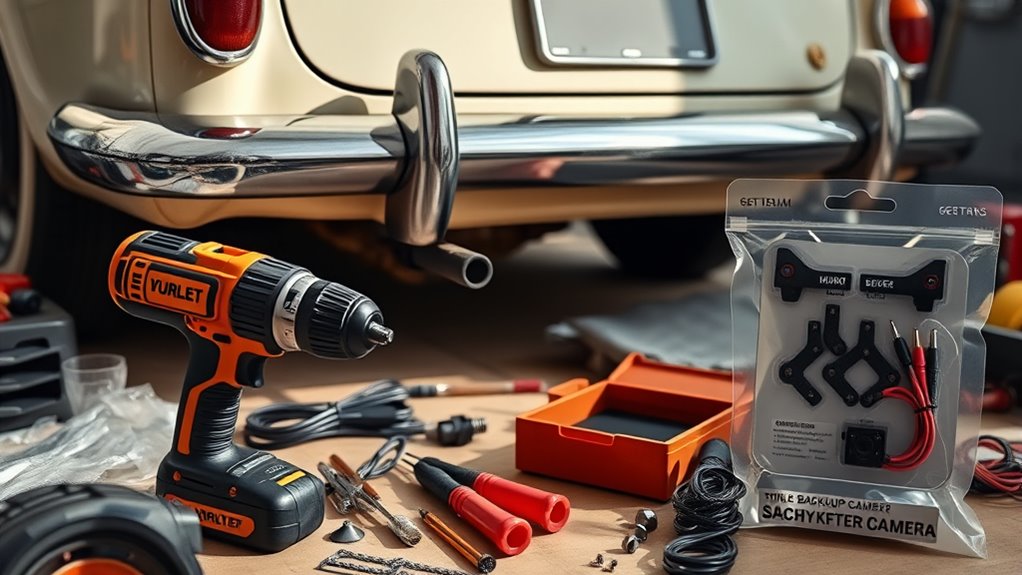
Tools Checklist
Gathering the right tools and supplies is essential to make certain a smooth installation process. First, ensure you have basic hand tools like screwdrivers, pliers, and a drill. A wiring kit with connectors and electrical tape is vital for secure connections. If you choose wireless options, you’ll need a compatible receiver and possibly a power adapter. Check the camera resolution to match your visibility needs—higher resolution offers clearer images. A multimeter can help test power sources and connections. Don’t forget a clean cloth or alcohol wipes to prep surfaces. Having these tools ready saves time and frustration. Remember, using quality components ensures better performance, especially for wireless cameras and higher-resolution models. Being prepared keeps the installation efficient and straightforward. Additionally, selecting a magnifying lamp can aid in detailed wiring work, ensuring precise connections for a professional-looking installation. Incorporating proper electrical tools can also help prevent common wiring errors during setup. Also, understanding the net worth of individuals involved in related fields can provide context for the technical investments made during upgrades. For optimal results, familiarize yourself with the history of pinball machines, which emphasizes the importance of precision and quality in design and assembly. Recognizing the importance of proper tool use can significantly improve both safety and the quality of your installation.
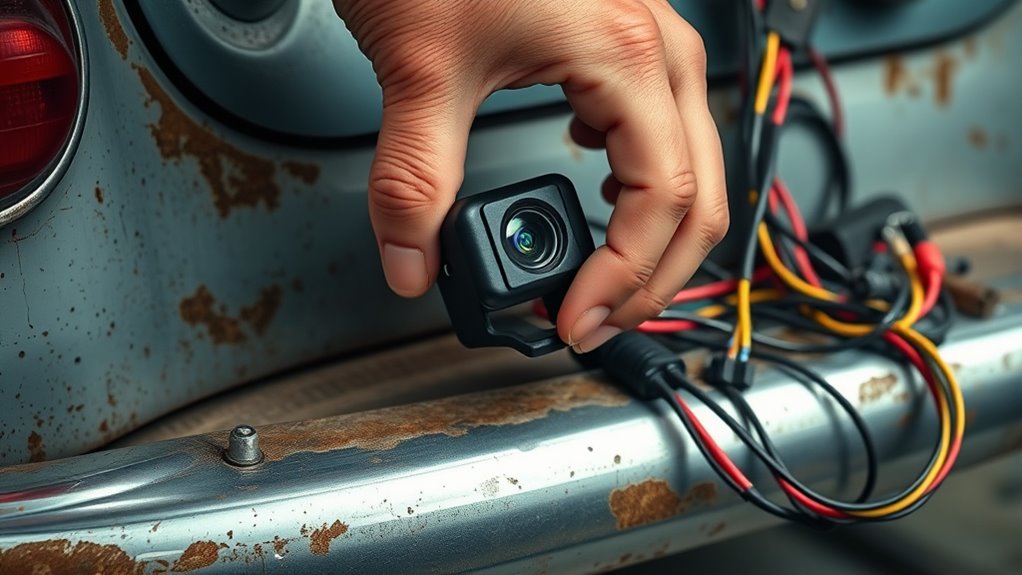
Supplies and Accessories
To successfully install a backup camera on your old car, you need to assemble all the necessary supplies and accessories beforehand. Start by gathering the camera itself, which can be wired or wireless—wireless options offer easier installation and fewer cables. If you choose a wireless camera, ensure it’s compatible with your vehicle’s power system and display device. You’ll also need a monitor or screen to view the footage, along with mounting brackets or adhesive pads for the camera. Consider compatibility considerations like input types and size constraints for your chosen display. Additional supplies include power cables, wiring harnesses, and possibly an extension cord. Having all these supplies ready guarantees a smooth installation process, saving you time and frustration. Familiarity with Free Floating concepts and other related entertainment options can also make the project more enjoyable. Moreover, reviewing installation guides specific to your vehicle model can help clarify the necessary steps and prevent common issues. Understanding wiring basics can further simplify the process and ensure a secure connection. Additionally, knowing about electrical systems in your vehicle can help prevent potential damage during installation.
Preparing Your Car for Installation
Before installing your backup camera, you need to gather all the necessary tools and supplies. Next, clear the area around your license plate or rear bumper so you have plenty of space to work. This preparation makes the installation smoother and helps prevent any accidental damage. Additionally, understanding the basics of car electronics can assist you in troubleshooting or customizing your setup if needed. Familiarizing yourself with essential electrical wiring techniques can also make the process more straightforward. To ensure a safe and effective installation, it’s helpful to review seasonal car maintenance checklists that include electrical system inspections. Being aware of simple system setups can further streamline your installation process and ensure everything functions correctly. Incorporating knowledge about vetted safety practices can also help prevent issues during installation.
Gather Necessary Tools
Preparing your car for the backup camera installation starts with collecting all the necessary tools. You’ll need basic items like screwdrivers, wire strippers, and electrical tape. If you’re considering wireless alternatives, verify you have a compatible receiver and transmitter. For wired setups, a drill and mounting hardware are essential. It’s also helpful to have different camera lens types, such as wide-angle or fisheye, depending on your preferred view. Make sure your vehicle’s power source is accessible for the camera’s power connection. Gathering these tools beforehand streamlines the process and prevents interruptions. Double-check the camera’s instructions for any specific tools or accessories required. Being prepared with the right tools makes installing your backup camera smoother and more efficient.
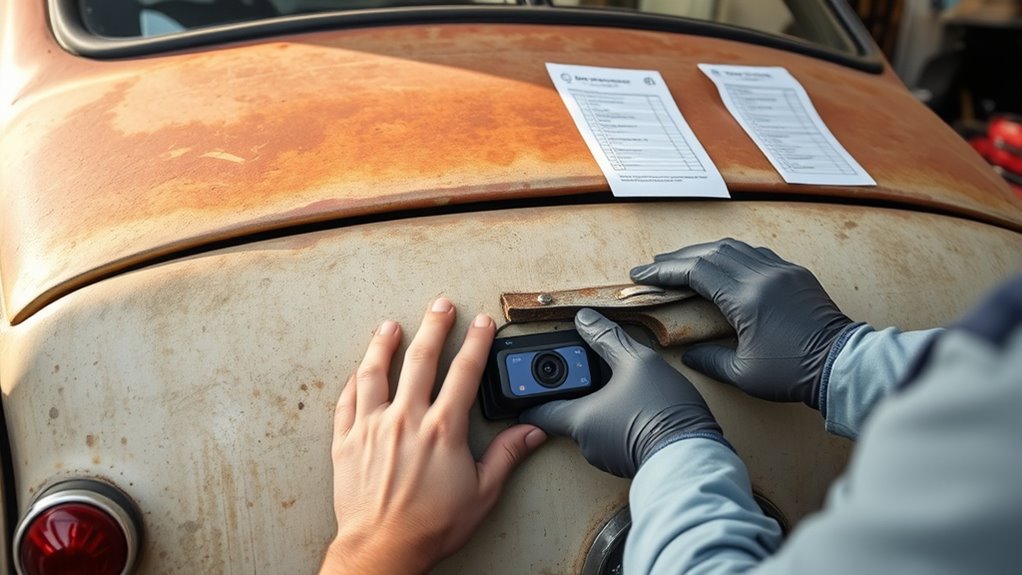
Clear Installation Area
Start by clearing out the area around your rear bumper and trunk to make certain you have unobstructed access. Remove any loose items, debris, or dirt that could interfere with the installation. Check for existing parking sensors and note their placement, as they may need to be adjusted or disconnected temporarily. Ensure the reverse lights are functioning properly, since you’ll connect the camera’s wiring to them for power. If your car has parking sensors, take care not to damage or dislodge them during the process. Clearing the space helps you see clearly and work efficiently. A tidy workspace reduces mistakes and makes wiring easier. Once the area is clean and accessible, you’ll be ready to proceed with mounting the camera and connecting the wiring.
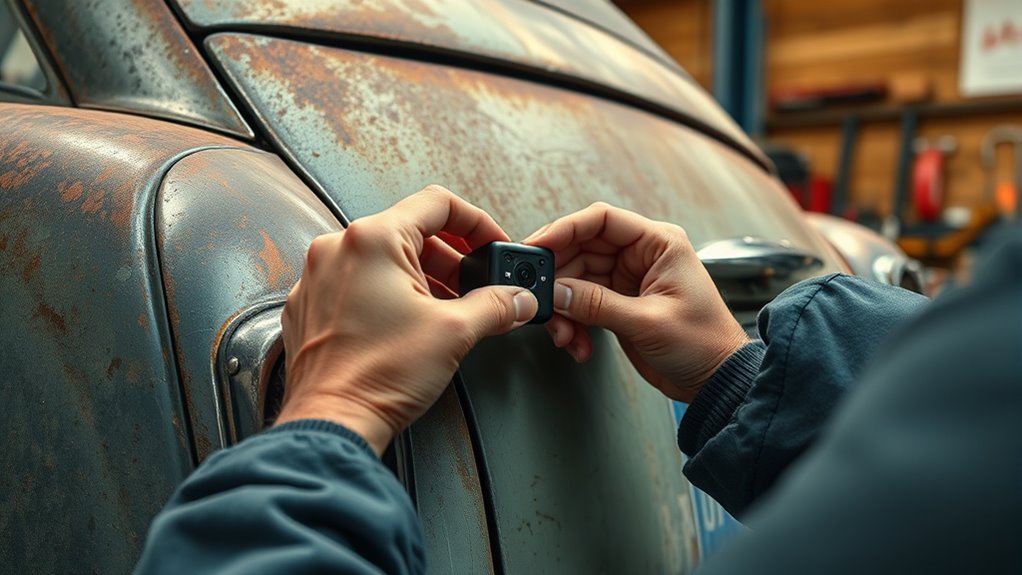
Mounting the Camera: Placement and Securing

Choosing the right spot for your backup camera is crucial to guarantee a clear view and easy installation. You’ll want to carefully consider sensor placement to ensure the camera captures a wide, unobstructed perspective. Typically, mounting just above the license plate or on the rear bumper works well. Once you’ve identified the best location, use securing brackets designed for your camera model to keep it firmly in place. These brackets help prevent vibration or movement that could blur images. Confirm the camera is level and centered for ideal visibility. Double-check that the placement doesn’t interfere with the vehicle’s trunk or hatch operation. Proper mounting guarantees a stable, clear picture, making your reversing safer and more confident.
Running Wires and Connecting Power
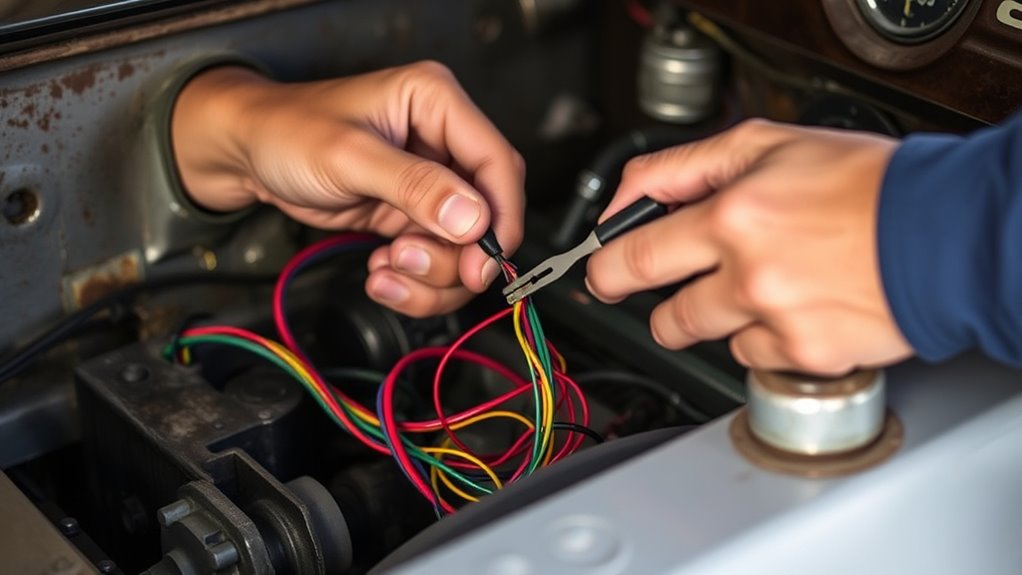
Once you’ve secured the camera in its proper position, the next step is to run the wires from the camera to your vehicle’s power source. If you prefer a cleaner look, consider wireless alternatives, which eliminate the need for extensive wiring. However, if you’re comfortable with wiring, run the wire along the vehicle’s interior panels, keeping it hidden and secure. When connecting power, identify the reverse light circuit—this ensures the camera activates when you shift into reverse. Be mindful of the camera angle; adjusting the wiring can help you fine-tune the view. Make sure all connections are tight and insulated to prevent shorts. Take your time to ensure a neat, professional setup that provides a clear, reliable backup view.
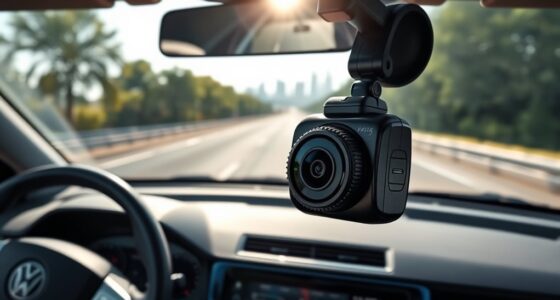
Installing the Display Monitor in Your Vehicle
Installing the display monitor in your vehicle is a straightforward process that enhances your backup camera system. First, choose a placement that gives you a clear view of the camera angle while still being easy to see when reversing. Common spots include the dashboard, center console, or mounted near the rearview mirror. Use mounting brackets or adhesive strips to secure the monitor firmly. Make sure the monitor is at a comfortable angle for quick glances without obstruction. Keep wiring tidy and hidden to prevent distractions or damage. Proper placement guarantees you can quickly and easily view the camera feed, making reversing safer and more convenient. With the monitor securely installed, you’ll have a clear, reliable display that complements your new backup camera system.
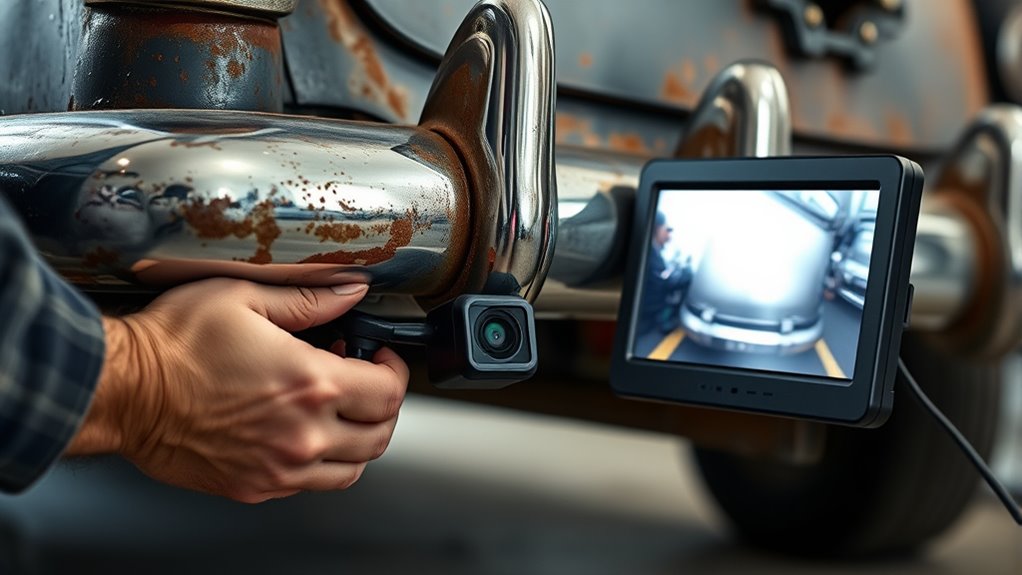
Testing the Backup Camera System

After securing your display monitor, it’s time to verify that your backup camera system works correctly. Turn on your vehicle and shift into reverse to activate the camera. Check the wireless connectivity between the camera and monitor to guarantee a clear, stable image. Make sure the camera angle provides a wide view of the area behind your vehicle, adjusting if necessary. Look for any flickering or distortion, which could indicate connection issues or misalignment. Confirm that the image appears promptly when shifting into reverse, indicating proper setup. If the picture is blurry or unstable, double-check the camera’s position and connection. This step ensures your backup camera operates reliably, giving you confidence when reversing.
Final Adjustments and Troubleshooting
To guarantee your backup camera functions flawlessly, it’s essential to make final adjustments and address any troubleshooting issues promptly. Start by checking for calibration issues, ensuring the camera view aligns correctly with your actual surroundings. If the image appears skewed or off-center, adjust the camera angle or mounting position until the display shows a clear, accurate view. If the system isn’t responding properly or showing errors, perform a system reset by disconnecting and reconnecting the power supply or following the manufacturer’s reset instructions. This can resolve minor glitches and restore proper functionality. Keep in mind, calibration issues are common after initial setup or repositioning, so double-check your adjustments. Troubleshooting systematically helps ensure your backup camera operates smoothly and reliably.
Tips for Maintaining and Upgrading Your System

Regular maintenance is key to keeping your backup camera system functioning reliably over time. Start by regularly checking the camera lens for dirt, debris, or water damage, and clean it carefully to guarantee clear images. To maintain accuracy, periodically perform camera calibration, especially after any adjustments or system upgrades. Keep your system firmware up to date by downloading the latest updates from the manufacturer’s website or using the provided software. Firmware updates often include bug fixes, performance improvements, and new features that enhance your system’s reliability. If you notice any issues with image quality or system performance, updating firmware or recalibrating the camera can often resolve problems. Consistent care ensures your backup camera stays effective and safe, giving you confidence on the road.
Frequently Asked Questions
Can I Install a Backup Camera Without Professional Help?
Yes, you can definitely do a DIY installation of a backup camera without professional help. Just make certain your vehicle is compatible with the camera system you choose, and follow the step-by-step instructions carefully. With basic tools and patience, you can connect the wires, mount the camera, and integrate it with your existing setup. It’s a manageable project that saves you money and gives you a sense of accomplishment.
What Is the Typical Cost of Installing a Backup Camera?
Did you know that backup camera installation costs can range from $50 to over $300? For your budget options, simple DIY kits are the most affordable, often around $50 to $100. Professional installation typically costs between $150 and $300, depending on the vehicle and camera features. Consider your needs and budget estimates to choose the best option, making your driving safer without overspending.
How Long Does the Installation Process Usually Take?
The installation time typically takes about 1 to 3 hours, depending on your car’s make and model. The estimated duration includes running wires, mounting the camera, and configuring the system. If you’re comfortable with basic tools, you might finish faster. Otherwise, it’s a straightforward process that most DIY enthusiasts can handle within a few hours, making it a manageable project for upgrading your vehicle’s safety features.
Will Installing a Backup Camera Affect My Vehicle’s Warranty?
Installing a backup camera usually won’t affect your vehicle’s warranty coverage if you follow manufacturer policies. However, if the installation causes damage or voids specific warranty terms, it could impact your coverage. To stay safe, check your vehicle’s warranty details and consult the manufacturer or a professional installer. Doing so guarantees your warranty remains intact and your backup camera works perfectly without any issues.
Are Wireless Backup Cameras as Reliable as Wired Ones?
Wireless backup cameras can be just as reliable as wired ones, but beware of the wild west of wireless interference. You might experience signal drops or lag if interference is strong, and their signal range could be limited compared to wired options. If your car’s environment is crowded with electronics, a wired camera might offer steadier performance. Still, modern wireless tech has come a long way, making them a convenient choice for many drivers.
Conclusion
With a little patience and some simple steps, you can transform your old car into a more confident and connected ride. Think of the backup camera as your silent guardian, quietly enhancing your safety and peace of mind. Once installed, you’ll wonder how you ever drove without it. Embrace the upgrade, and enjoy the newfound clarity and reassurance every time you hit reverse. Your journey to a smarter, safer drive is just a few steps away.