
To avoid bumps in your aging car, choose parking sensors compatible with your vehicle, then gather tools like a drill, wire strippers, and waterproof tape. Prepare your car by cleaning the area and disconnecting the battery, then carefully install the sensors on the rear bumper’s corners and center, ensuring proper height and placement. Connect the wiring to a power source, test the system, and fine-tune for accuracy. Keep sensors clean to maintain their effectiveness—continue exploring for detailed steps.
Key Takeaways
- Choose compatible, durable parking sensors suited for your vehicle’s make and environment.
- Gather necessary tools, disconnect the battery, and clean the installation area before mounting.
- Position sensors at recommended heights on rear and front bumpers, avoiding obstructions like metal parts.
- Connect wiring securely to power sources and control modules, ensuring proper calibration and waterproofing.
- Test sensor functionality, adjust sensitivity settings, and regularly clean sensors for optimal performance.
Choosing the Right Parking Sensors for Your Vehicle

When selecting parking sensors for your vehicle, it’s essential to contemplate compatibility with your car’s make and model. You want sensors that are reliable, so prioritize options with excellent sensor durability to withstand daily use and weather conditions. Check reviews and product specifications to ensure the sensors are built to last. Additionally, consider the brand reputation—well-known brands often provide better quality and customer support, giving you peace of mind. Don’t skimp on quality; cheap or unfamiliar brands may save you money initially but could fail quickly, costing you more in repairs or replacements. By focusing on sensor durability and choosing reputable brands, you’ll ensure your parking sensors perform consistently, making parking safer and more convenient for years to come. Incorporating quality assurance measures can also help verify that the sensors meet safety and performance standards, further enhancing your confidence in their longevity. Furthermore, paying attention to product certifications can provide additional assurance about the sensors’ reliability and safety standards. Ensuring the sensors are tested for reliability and safety can lead to better long-term performance and peace of mind. Additionally, understanding the regulatory standards applicable to automotive sensors can help you select products that comply with safety regulations and industry benchmarks. Considering sensor materials and their resistance to environmental factors can also extend the lifespan of your parking sensors.
Gathering Necessary Tools and Materials

Before you begin installing your parking sensors, it’s important to gather all the necessary tools and materials. This ensures smooth installation and maintains sensor durability for long-lasting performance. Prioritize safety by using tools that prevent damage to your vehicle and yourself. Here’s a quick list:
| Tool/Material | Purpose | Safety Tip |
|---|---|---|
| Drill and bits | Create mounting holes | Wear safety glasses |
| Wire strippers | Connect wiring securely | Disconnect car battery first |
| Parking sensors | Detect obstacles | Handle sensors with care |
Having these at hand guarantees a safe, efficient process, minimizing risks and ensuring your sensors are installed correctly for ideal performance. Additionally, understanding sensor placement can significantly improve the effectiveness of your parking sensors. Proper placement ensures optimal coverage and reduces false alarms, which is crucial for sensor accuracy. Incorporating proper installation techniques can further enhance the reliability and lifespan of your sensors. To achieve this, consider consulting automotive wiring diagrams to ensure correct connections and avoid potential electrical issues.
Preparing Your Car for Sensor Installation

To guarantee your parking sensors function properly, you need to prepare your car by clearing the area around the installation sites. Remove any dirt, debris, or loose objects that could interfere with the sensors or wiring. Check that the surface is clean and smooth to ensure proper sensor adhesion and alignment. Consider the sensor durability and weather resistance; choose a location where the sensors won’t be exposed to excessive moisture, mud, or extreme temperatures. If your car is often exposed to harsh weather, protect the sensors with waterproof tape or covers during installation. Ensuring a clean, stable surface will improve sensor performance and longevity. Proper preparation minimizes future issues and guarantees your parking sensors work effectively, regardless of weather conditions. Additionally, reviewing aeroguardians best practices for maintaining electronic components can help extend the lifespan of your sensors. Regularly inspecting your sensors for signs of wear and tear can catch potential problems early and maintain optimal operation. Incorporating smart maintenance routines can further enhance sensor reliability over time. Moreover, choosing high-quality sensors designed for weather-resistant use can significantly improve their durability and performance.
Locating the Optimal Placement for Sensors

To get the best performance from your parking sensors, you need to choose the right spots on your vehicle. Focus on ideal sensor locations that cover key areas without leaving blind spots. Make sure to avoid obstructions like bumpers, trims, or other objects that could interfere with sensor signals. Proper placement enhances safety and ensures a more reliable parking experience, contributing to a joyful and fulfilling life. Additionally, understanding the sensor field-of-view can help you optimize coverage and avoid gaps in detection.
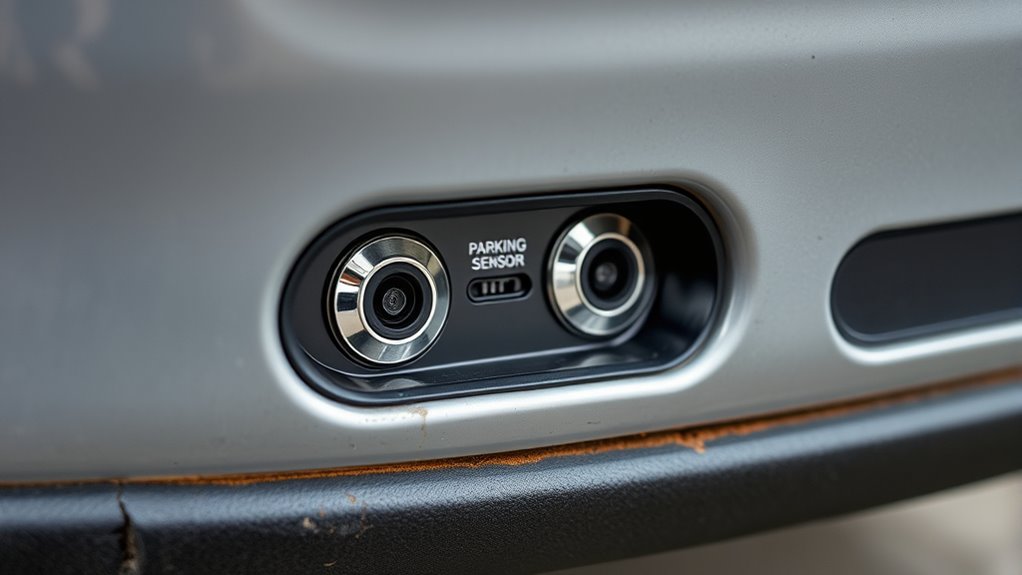
Ideal Sensor Locations
Choosing the right spots for your parking sensors is essential to guarantee they work effectively and provide accurate alerts. Proper sensor placement ensures ideal obstacle avoidance and reliable detection. Typically, sensors should be installed on the rear bumper’s corners and center, where they can cover the widest area. For the front, position sensors near the corners, avoiding areas like license plates or vents that might interfere with detection. Keep sensors at a consistent height, about 6 to 12 inches from the ground, to maintain accuracy. Avoid placing sensors behind large metal parts or near exhaust components, as these can cause false readings. Regularly calibrating and testing your sensors helps maintain their accuracy and reliability, ensuring optimal performance over time. Proper installation techniques and understanding the sensor coverage area contribute significantly to their effectiveness. Additionally, considering the electromagnetic interference from nearby electronic devices can help prevent false alarms. Being aware of potential sources of interference can help you select the best locations and prevent issues. Understanding the ground surface conditions around your vehicle can also influence sensor performance. By carefully selecting these locations, you maximize sensor effectiveness and reduce the risk of bumps or collisions.
Avoiding Obstructions
Ensuring your sensors aren’t obstructed requires careful placement away from common sources of interference. Proper positioning helps with accurate sensor calibration and effective obstruction detection. To achieve this, consider these tips:
- Keep sensors clear of mud, dirt, or snow that can block signals.
- Avoid mounting near large metal objects or thick bumpers that cause interference.
- Place sensors at the recommended height for your vehicle type to maximize detection range.
- Regularly check for obstructions and clean sensors to maintain ideal performance.
- Be mindful of electromagnetic interference, as it can disrupt sensor signals and reduce their effectiveness. Additionally, understanding sensor calibration can help you fine-tune placement for optimal operation.
- Choosing a location with minimal environmental interference can further enhance sensor reliability and longevity.
Installing the Parking Sensors on Your Vehicle

When installing parking sensors, you’ll need to choose the right sensor type for your vehicle and driving needs. Proper installation techniques guarantee the sensors work accurately and last longer. Follow clear steps to correctly position and secure the sensors for ideal performance.
Selecting Sensor Types
Selecting the right sensor type is essential to guarantee your parking system functions effectively and fits your vehicle’s needs. Consider these options:
- Sensor durability – Choose sensors built to withstand weather, dirt, and impact for long-lasting performance.
- Wireless sensors – Easy to install, avoid wiring hassles, and reduce clutter, but check for reliable connections.
- Wired sensors – Offer consistent signal strength and durability, ideal for rougher environments, though installation can be more complex.
- Sensor size and type – Smaller sensors are less noticeable, while different types (ultrasonic or electromagnetic) may suit specific parking needs better.
Think about your vehicle’s age, environment, and your budget to select the best sensor type for you.
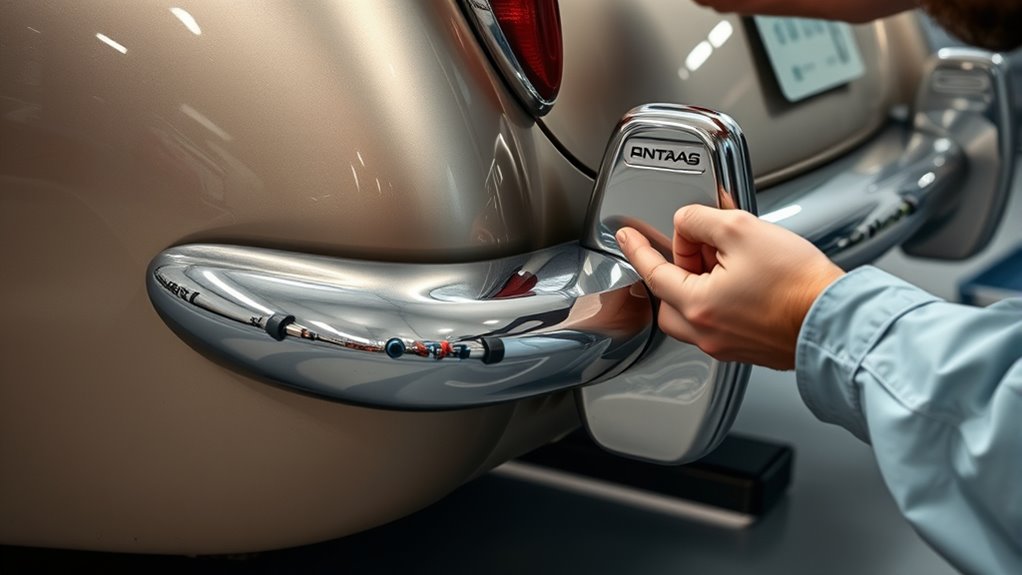
Proper Installation Techniques
Proper installation is crucial to guarantee your parking sensors work accurately and reliably. Begin by positioning the sensors at the correct height and spacing according to your vehicle’s model. Ensure they are securely mounted, avoiding loose fittings that can affect performance. After mounting, perform sensor calibration to fine-tune detection distances, preventing false alerts or missed obstacles. Weatherproofing tips are essential; seal the sensors properly to protect against rain, mud, and dirt, which can impair their function. Use weather-resistant adhesive or casing if necessary. Always double-check the alignment and calibration after installation, especially if you make adjustments. Taking these steps ensures your parking sensors operate smoothly and provide reliable assistance, giving you confidence when parking your aging car.
Connecting the Wiring and Power Supply

To guarantee your parking sensors function correctly, you need to connect the wiring and power supply properly. First, identify the sensor wiring and locate the power connection point, usually near the fuse box or cigarette lighter socket. Here’s what to do:
Ensure proper wiring and power connection for reliable parking sensor operation.
- Connect the sensor wiring to the control module, ensuring each wire matches its designated port.
- Attach the power connection to the vehicle’s power source, using a fuse tap if necessary for safety.
- Secure all wiring with zip ties, avoiding moving parts or hot surfaces.
- Double-check all connections for firm attachment and correct placement.
Proper wiring ensures reliable operation and avoids electrical issues. Take your time to make neat, secure connections for your parking sensors to work seamlessly.
Testing the Parking Sensor System
Before you start driving, it’s essential to test your parking sensor system to guarantee everything works correctly. First, check sensor durability by gently tapping each sensor to see if they respond. Next, test wireless connectivity by activating the system and walking around your vehicle; signals should transmit smoothly without delays or drops. Make sure all sensors detect objects accurately and produce alerts at the right distance.
| Test Step | Expected Result |
|---|---|
| Gently tap sensors | System responds with audible alerts |
| Walk around vehicle | Wireless signals remain strong and clear |
| Park near obstacles | Sensors detect objects, triggering alerts |
| Drive slowly in reverse | Sensors alert you to nearby objects |
| Check all sensors | No false alarms or dead zones |
Fine-Tuning and Calibration for Accurate Detection
Once you’ve tested your parking sensor system and confirmed it responds correctly, the next step is fine-tuning and calibration to guarantee pinpoint accuracy. Adjusting sensor sensitivity is vital—you want it responsive without false alarms. Follow these calibration procedures:
- Position your vehicle near obstacles at various distances.
- Adjust sensor sensitivity settings to find the right balance.
- Test detection at different angles to ensure consistency.
- Fine-tune warning volume and thresholds for your comfort.
Maintaining and Troubleshooting Your Parking Sensors

Regular maintenance and prompt troubleshooting are essential to keep your parking sensors functioning reliably. Start by inspecting sensor maintenance regularly—clean the sensors with a soft cloth to remove dirt and debris that can impair detection. Check for any physical damage, such as cracks or loose wiring, and address issues immediately. If your sensors aren’t working correctly, use troubleshooting techniques like resetting the system or checking the fuse box for blown fuses. Ensure the sensor connections are secure and free of corrosion. If problems persist, consult your vehicle’s manual or seek professional help. Staying proactive with sensor maintenance and troubleshooting will prevent false alarms, missed detections, or sensor failure, keeping your parking system dependable and your parking experience safe.
Frequently Asked Questions
Can I Install Parking Sensors Myself Without Professional Help?
Yes, you can do a DIY installation of parking sensors if you’re comfortable with basic tools and electronics. Make sure to check sensor compatibility with your car model before starting. Follow step-by-step guides carefully, and take your time to avoid mistakes. With patience and attention to detail, you can successfully install parking sensors yourself, saving money and gaining satisfaction from a job well done.
How Long Does the Installation Process Typically Take?
Imagine the installation timeline as a ticking clock—generally, it takes about 2 to 4 hours. The exact duration depends on your car’s make and model and the technician’s availability. If you’re doing it yourself, plan for extra time to guarantee proper placement and wiring. Keep in mind, scheduling with a professional might streamline the process, but it still requires patience as they fit your sensors precisely.
Are Parking Sensors Compatible With All Vehicle Models?
Parking sensors aren’t compatible with all vehicle models, but many are adaptable. You should check your vehicle’s compatibility and consider different sensor types, like ultrasonic or electromagnetic sensors. Some sensors may require specific mounting options or wiring setups. To guarantee a smooth fit, verify your car’s make and model, and choose sensors designed for compatibility. This way, you’ll get effective parking assistance tailored to your vehicle.
What Is the Average Cost of Installing Parking Sensors?
Worried about installation costs? The average price for installing parking sensors ranges from $200 to $500, depending on your vehicle’s sensor compatibility and the complexity of the setup. Most modern sensors are compatible with a wide variety of cars, making installation straightforward. Keep in mind, higher-end systems or custom setups may cost more, but investing in reliable sensors can considerably reduce parking accidents and damage.
Do Parking Sensors Work in All Weather Conditions?
Parking sensors generally work well in most weather conditions due to their weather resistance and sensor durability. They’re designed to withstand rain, snow, and dust, ensuring reliable performance regardless of the elements. However, extreme weather like heavy snow or ice can sometimes interfere with their accuracy. Regularly cleaning and maintaining your sensors helps make certain they stay effective, providing you with consistent assistance in parking safely no matter the weather.
Conclusion
Once you’ve installed your parking sensors, you’ll wonder how you ever parked without them—it’s like having a personal parking assistant whispering in your ear! Say goodbye to embarrassing bumps and scratches forever, and enjoy the confidence of perfect parking every time. With this upgrade, your aging car transforms into a high-tech parking powerhouse. Get ready to impress everyone with your flawless parking skills—your car will thank you, and so will your peace of mind!