
To add satellite radio to any car, start by choosing a compatible receiver designed for your vehicle, and gather the necessary tools like screwdrivers, cables, and mounting kits. Install the hardware securely, connect it to a power source, and mount the antenna where it gets the best signal, such as the roof or rear window. Activate your subscription online or through customer service, then optimize sound quality and troubleshoot if needed. Keep exploring for more tips to enhance your listening experience.
Key Takeaways
- Choose a compatible satellite radio receiver and antenna suited for your vehicle’s make and model.
- Mount the antenna on the roof or rear window for optimal signal reception and route the cable neatly.
- Connect the receiver to the vehicle’s power source, such as the 12V outlet or fuse box, ensuring secure wiring.
- Activate the subscription through the provider’s website or customer service, selecting your desired channels.
- Position the antenna away from obstructions and electronic interference to improve sound quality and signal reliability.
Choosing the Right Satellite Radio Receiver for Your Vehicle
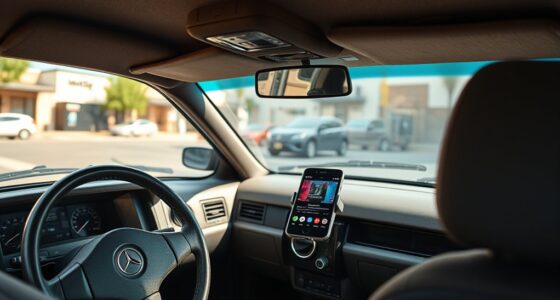
When selecting a satellite radio receiver for your vehicle, it’s important to contemplate compatibility with your car’s make and model. One key factor is antenna types; some vehicles require specific antennas like window-mounted or magnetic ones for ideal reception. Consider receiver features such as screen size, user interface, and Bluetooth connectivity, which enhance usability and convenience. Look for models that offer features like preset stations, voice control, or integration with your vehicle’s audio system. Compatibility with your existing setup guarantees easy installation and reliable signal reception. Additionally, understanding antenna types can significantly impact your listening experience, as different vehicles may need specific antennas for optimal performance. Paying attention to installation requirements can help ensure a smooth setup process and consistent performance. Researching mobile device integration options can further enhance your listening flexibility, allowing seamless control through smartphones or other devices. Being aware of antenna installation options can help you select the best setup for your vehicle and ensure consistent, high-quality reception. By focusing on antenna types and receiver features, you can choose a receiver that fits your needs and vehicle, providing seamless access to a wide range of satellite channels and a better listening experience on the go.
Gathering Necessary Tools and Equipment for Installation
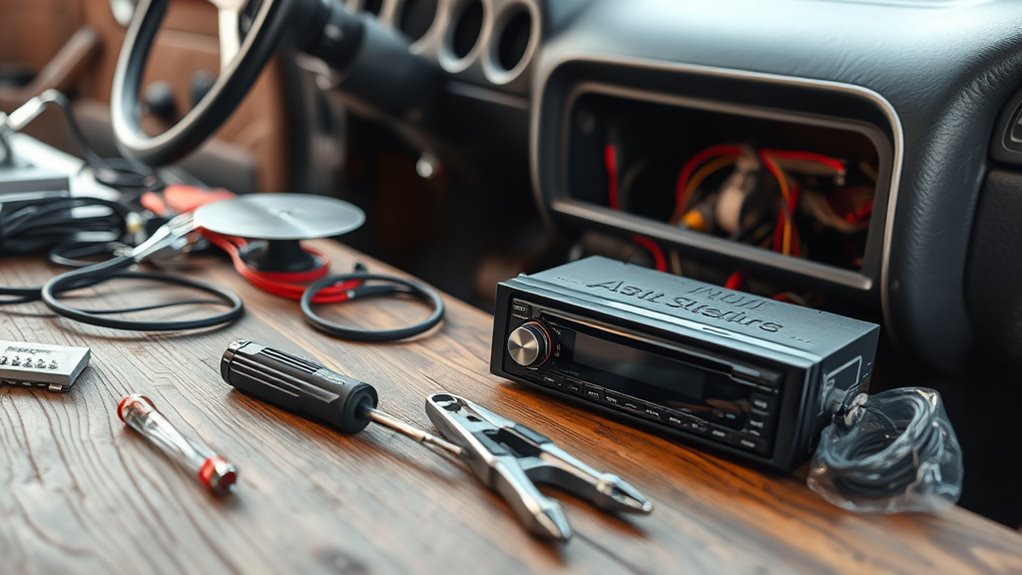
Before you start installing your satellite radio, gather all the necessary tools and equipment to guarantee a smooth process. First, you’ll need a basic toolkit with screwdrivers and pliers to handle mounting and connections. Second, ensure you have high-quality cables; cable quality affects signal strength and antenna placement. Third, get a clean, accessible space to work in, free from clutter. Proper antenna placement is crucial for optimal reception, so have a mounting kit ready to position the antenna correctly. Double-check that you have adhesive pads or mounts for secure installation. Being prepared with these tools and equipment will help you avoid delays and achieve the best possible audio quality from your satellite radio. Additionally, understanding color accuracy and calibration can help you troubleshoot and optimize your setup more effectively. Being aware of signal interference sources can also improve your reception and listening experience.
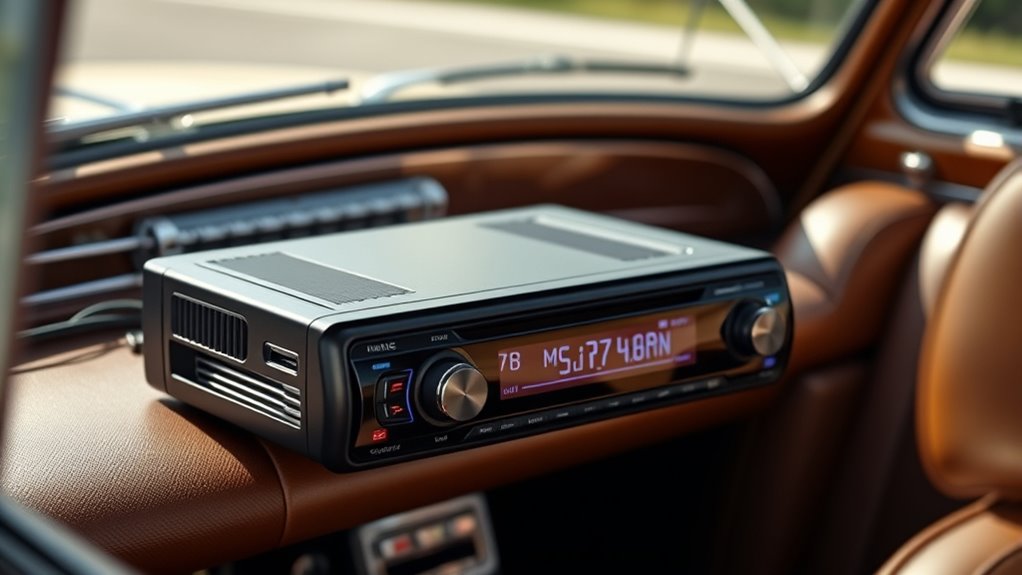
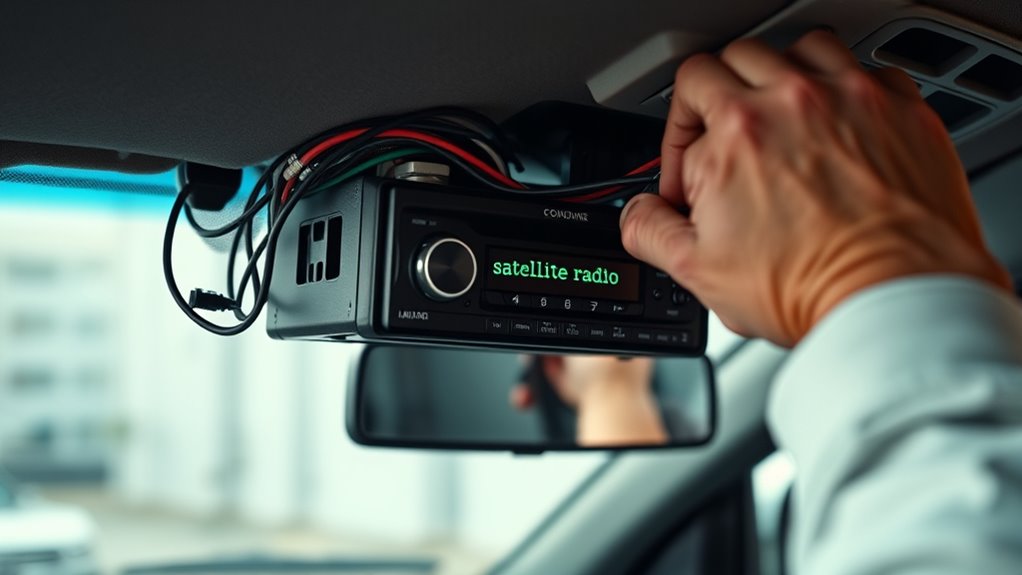
Installing the Satellite Radio Hardware in Your Car

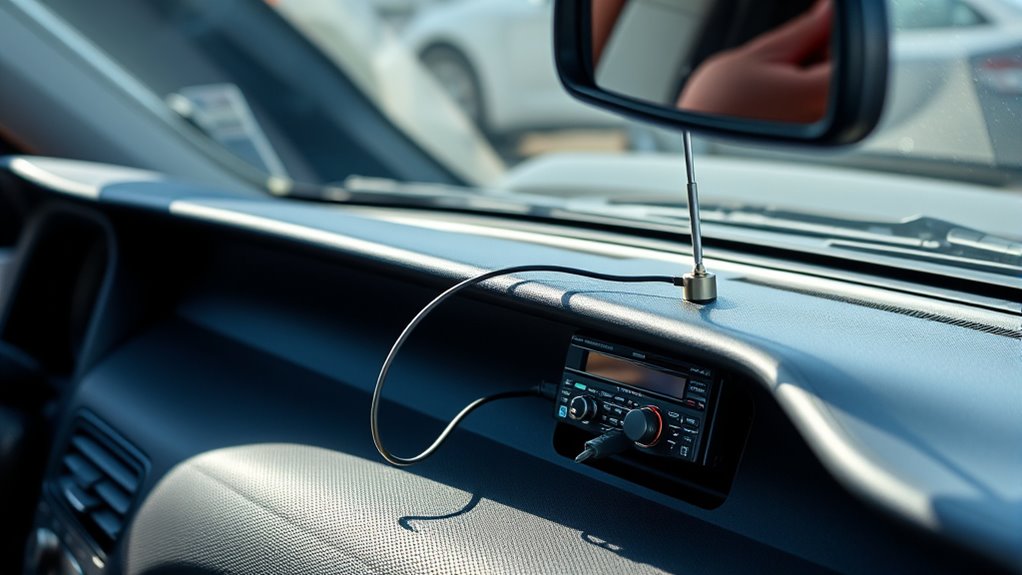
With your tools and equipment ready, it’s time to start installing the satellite radio hardware in your car. First, locate a suitable spot for the receiver that’s easily accessible but out of the way. Mount the unit securely using the provided brackets or adhesive, ensuring it won’t rattle or shift while driving. Next, focus on antenna placement; place the antenna on the roof or a rear window for most effective signal reception. Avoid obstructions like metal or thick glass that can interfere with signal strength. Positioning the antenna correctly is key to signal maximization, so experiment with different spots if needed. Make sure the antenna cable is neatly routed to prevent damage or interference. Once installed, double-check all connections before moving on to wiring the power supply. Proper antenna placement and cable routing are essential for optimal reception and system performance. Additionally, consulting your vehicle’s interior layout can help find the best path for cable routing and avoid areas prone to interference. Ensuring the signal quality remains strong will lead to a better listening experience.
Connecting Your Satellite Radio to Power and Antenna
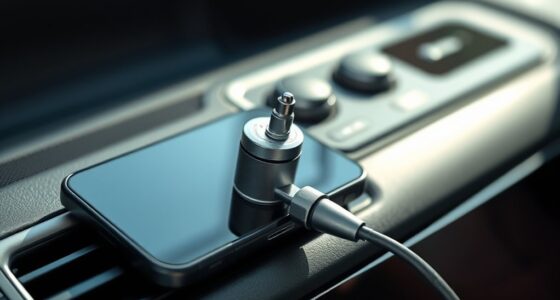
To connect your satellite radio to power and the antenna, start by locating a suitable power source in your vehicle, such as the fuse box or a 12V accessory outlet. Next, follow these steps:
- Connect the power cable from your satellite radio to the power source, ensuring a secure and stable power connection.
- Mount the antenna in an ideal location, preferably on the roof or rear deck, for better antenna placement and signal reception.
- Run the antenna cable neatly along the interior panels, avoiding sharp bends or interference, and connect it to the radio’s antenna port.
- Ensuring proper antenna placement is vital for clear reception, while a solid power connection ensures your satellite radio stays powered on. Additionally, confirming your power supply is compatible helps prevent potential electrical issues.
- To maximize signal quality, consider antenna orientation and avoid obstructions that may block the satellite signals. Proper grounding of the antenna can also improve reception and reduce interference.
Activating and Subscribing to Your Preferred Channels

Once your satellite radio is installed, you’ll need to activate it and choose your preferred channels. We’ll walk you through the activation process, explain your subscription options, and show you how to manage your channels easily. This guarantees you get the most out of your satellite radio experience. Remember to familiarize yourself with connection standards to ensure optimal audio quality and seamless integration with your vehicle’s existing systems. Additionally, understanding subscription costs can help you select the plan that best fits your listening preferences and budget. Be aware that fentanyl characteristics emphasize the importance of safety and proper handling when dealing with substances related to audio or other environments. Being aware of tech & gadgets can also enhance your overall listening experience by integrating smart devices and remote controls for easier management. Familiarizing yourself with audio quality standards can help you enjoy a clearer, more reliable sound during your drives.
Activation Steps Overview
Activating your satellite radio and subscribing to your favorite channels is a straightforward process that can be completed in just a few steps. First, turn on your radio and guarantee it has a clear radio signal. Next, visit the provider’s website or call their customer service to activate your device using the radio’s unique ID. Finally, choose a subscription plan that fits your listening preferences and budget.
Here’s a quick overview:
- Confirm your radio signal is strong and clear.
- Enter your radio ID to activate the device.
- Select and subscribe to your preferred plans for access to premium channels.
Following these steps ensures you’re ready to enjoy your favorite stations without any hassle.
Subscription Options Explained
Are you wondering how to choose the best subscription plan for your listening habits? Satellite radio fees vary depending on the subscription tiers you select. Most providers offer multiple options, from basic plans with access to a limited number of channels to premium tiers that include all channels plus exclusive content. Consider how much music, talk shows, or sports you want to access regularly. Basic tiers are more affordable but may have ads or fewer features, while premium plans provide ad-free listening and more channels. Subscription options are also a good indicator of overall quality and user satisfaction. Activation is straightforward—just select your preferred subscription tier, pay the satellite radio fees, and follow the instructions to activate. To ensure a seamless experience, it’s helpful to understand the digital infrastructure that supports satellite broadcasting, which enhances signal reliability and coverage. This way, you can enjoy your favorite channels without interruptions or surprises.
Managing Your Channels
To start enjoying your satellite radio, you’ll need to activate your subscription and select your preferred channels. Once set up, managing your channels becomes straightforward. First, program your channel presets by tuning to your favorite stations and saving them for quick access. Next, explore the parental controls option to restrict certain content if needed, ensuring a safe listening environment. Finally, update your subscriptions as your preferences change, adding or removing channels easily through your radio’s menu or online account. These steps help you personalize your listening experience, making sure you always have your top channels ready. Managing your channels allows for seamless access and control, so you can enjoy the best programming without hassle.
Tips for Optimizing Sound Quality and Signal Reception

To get the best sound quality and signal reception, start by positioning your antenna in the ideal spot, away from obstructions. Using high-quality cables can reduce interference and improve clarity, so choose the best ones you can find. Don’t forget to fine-tune your signal settings to guarantee a stable and clear connection at all times.
Proper Antenna Placement
Proper antenna placement is essential for getting the best satellite radio signal and sound quality. Your choice of antenna types impacts reception, so select one suited for your vehicle. To optimize placement:
- Mount the antenna on a metal surface or roof for better signal strength.
- Keep it away from objects like trees or buildings that cause signal interference.
- Position the antenna vertically for consistent reception, avoiding tilted angles.
Avoid placing the antenna near electronic devices or window tinting, as these can disrupt signals. Test different locations to find the spot with the clearest reception. Remember, the right antenna type and strategic positioning are key to enjoying uninterrupted channels and superior sound quality in your ride.
Use High-Quality Cables
Using high-quality cables is essential for maintaining a strong satellite radio signal and ensuring clear sound. Poor cables can cause signal dropouts and degrade audio quality. When choosing cables, look for shielded and low-loss types to maximize signal transfer. Proper antenna placement combined with good cables improves signal optimization. To visualize this, consider the following:
| Cable Type | Signal Quality | Durability |
|---|---|---|
| Gold-plated RCA | Excellent | High |
| Coaxial | Reliable | Moderate |
| Shielded HDMI | Clear | Very high |
| Low-loss Coaxial | Strong | High |
| Standard Audio | Basic | Low |
Prioritize quality and correct installation to enjoy premium sound and seamless signal reception.
Adjust Signal Settings
Adjusting your satellite radio’s signal settings can greatly improve sound quality and reception. To optimize, focus on three key steps:
- Check the signal strength indicator on your tuner. If it’s weak, consider repositioning the antenna for better reception.
- Fine-tune your tuner settings, adjusting the orientation until the signal stabilizes and clears up.
- Make sure the antenna connection is secure and free of obstructions that could weaken the signal.
Troubleshooting Common Satellite Radio Installation Issues
When installing satellite radio in your vehicle, you might encounter some common issues that can disrupt the signal or functionality. One frequent problem is antenna malfunctions, which can cause poor reception or signal dropouts. Make certain your antenna is securely connected and positioned correctly, ideally on a clear, unobstructed surface. Another issue is receiver compatibility; not all receivers work seamlessly with every vehicle or antenna setup. Double-check that your receiver matches your vehicle’s make and model, and that it supports your satellite radio service. If you experience persistent issues, try resetting the receiver or updating its firmware. These simple steps often resolve common installation problems, helping you enjoy uninterrupted access to your favorite channels.
Frequently Asked Questions
Can I Install Satellite Radio Without Professional Help?
Yes, you can do a DIY installation of satellite radio, but it depends on your comfort level with car electronics. If you’re handy with tools and follow instructions carefully, you might manage without professional assistance. However, for a smoother, hassle-free setup, especially with complex wiring or antenna placement, it’s better to seek professional assistance. This ensures proper installation, superior signal, and avoids potential damage to your vehicle.
Is There a Monthly Fee for Satellite Radio Service?
You’ll find that satellite radio does have a monthly fee, known as the subscription cost, which varies by service plan. Luckily, you can cancel anytime, thanks to flexible cancellation policies. It’s like discovering a secret world of music and talk shows just waiting for you, with the peace of mind that you’re not locked in long-term. So, enjoy premium channels without worry, knowing you control your subscription and costs.
Will Installing Satellite Radio Void My Car’s Warranty?
Installing satellite radio generally won’t void your car’s warranty if you follow warranty concerns and installation requirements. Most manufacturers don’t consider adding a receiver as a warranty-voiding modification, especially if you use a professional service or ensure the installation doesn’t damage your vehicle. Just keep records of the installation and avoid altering critical components. Always check your vehicle’s warranty specifics to stay protected and ensure proper installation.
How Does Satellite Radio Perform in Remote or Underground Areas?
Think of satellite radio as your trusty lighthouse in the fog; its signal strength can weaken in remote or underground areas. In underground parking garages or tunnels, the performance might drop or cut out altogether, making listening less reliable. However, in open spaces, it delivers clear, consistent sound. To stay connected, consider an antenna booster or plan your routes where signal strength remains strong for the best underground performance.
Are There Portable Satellite Radio Options for Multiple Vehicles?
Yes, there are portable satellite radio options designed for multi-vehicle compatibility. You can easily switch these devices between cars, making them perfect for families or fleet vehicles. Many models come with rechargeable batteries, portable antennas, and user-friendly controls, so you can enjoy premium channels no matter which vehicle you’re in. Just make certain the device supports multi-vehicle use and has a robust signal for a seamless listening experience.
Conclusion
With a little effort, you can transform your old car into a premium entertainment zone. Imagine cruising down the highway, tunes streaming seamlessly from your new satellite radio, just like Sarah did with her vintage sedan. By choosing the right receiver, installing it properly, and fine-tuning for the best signal, you’ll enjoy endless channels and crystal-clear sound. Turn your ride into a concert hall on wheels—it’s easier than you think!