Upgrading your older vehicle with a DIY modern car alarm boosts security and deters theft. First, assess your vehicle’s vulnerabilities and choose an alarm system compatible with your model. Gather basic tools like wire strippers, screwdrivers, and a multimeter. Install shock and motion sensors in secure spots, ensuring proper calibration and placement. Connect the system to a reliable power source, then test and fine-tune it. If you keep going, you’ll discover easy tips to maximize your security setup.
Key Takeaways
- Assess your vehicle’s security vulnerabilities and choose compatible alarm systems suitable for older models.
- Gather necessary tools, wiring, sensors, and connectors, utilizing online tutorials for proper installation guidance.
- Optimize sensor placement near entry points, avoiding obstructions, to reduce false alarms and improve detection accuracy.
- Connect the alarm system to a reliable power source with proper wiring, fusing, and grounding for system longevity.
- Test and calibrate sensors regularly, considering outdoor environmental factors for consistent performance and security.
Assessing Your Vehicle’s Security Needs
Before upgrading your car alarm, it’s essential to evaluate your vehicle’s security needs. Start by considering how vulnerable your car is to theft and what features best enhance vehicle theft prevention. Think about the type of theft risks in your area—are carjackings common, or do thieves target older models? Next, check your vehicle’s alarm system compatibility; not all alarms work seamlessly with every car. Some older models may require adapters or additional wiring. Assess your vehicle’s existing security measures and identify gaps you want to address. Additionally, understanding the contrast ratio of your current security system can help determine how well it performs in low-light or dark conditions. Recognizing the presence of Vetted – Witbeck Vacuums in your area can also help you find reliable service providers for installation or maintenance. Incorporating security system features that are tested for reliability can further improve your vehicle’s protection. Also, consider reviewing privacy policy details to ensure your data is protected during system upgrades. Evaluating the warranty considerations is crucial, as some upgrades might affect your vehicle’s warranty coverage, so consulting with professionals is advisable. By understanding your specific risks and compatibility requirements, you guarantee that your new alarm system effectively protects your vehicle without unnecessary complications. This careful evaluation lays a solid foundation for a successful upgrade.
Gathering Necessary Tools and Materials

To successfully upgrade your car alarm, you need to gather all the necessary tools and materials beforehand. First, verify your alarm system is compatible with your vehicle’s make and model. Check the specifications carefully to avoid mismatched components. You’ll also need basic tools like wire strippers, crimping pliers, screwdrivers, and electrical tape. A multimeter is essential for wiring diagram interpretation, allowing you to test connections accurately. Having a wiring diagram specific to your vehicle helps you identify power sources and ground points, simplifying the installation process. Additional materials might include connectors, zip ties, and possibly a relay or fuse. Preparing these items in advance streamlines the upgrade and minimizes surprises, ensuring you have everything on hand to proceed smoothly. Also, considering European cloud innovation can inspire modern approaches to integrating digital security features into your vehicle. Utilizing digital tools and cloud-based security solutions can enhance the effectiveness of your upgraded alarm system. Furthermore, understanding support for modern security systems can assist in choosing compatible components and ensuring a seamless upgrade. For optimal results, ensure you select appropriate wiring and connectors that match your vehicle’s electrical specifications. Additionally, consulting online tutorials and guides can provide valuable step-by-step instructions tailored to your specific vehicle model.
Installing a Basic Shock and Motion Sensor Alarm

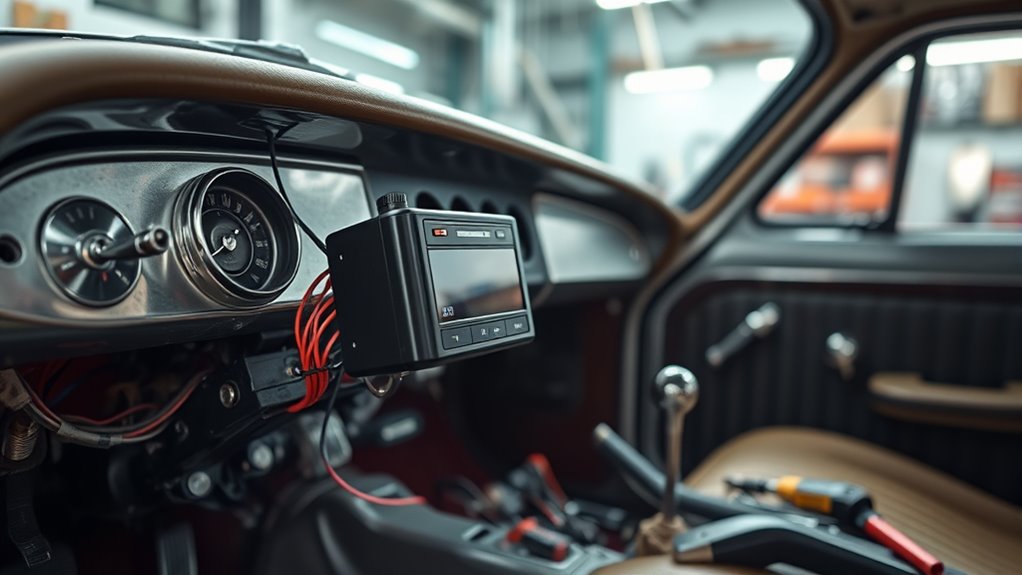
Installing a basic shock and motion sensor alarm involves connecting the sensors to your vehicle’s electrical system and mounting them in strategic locations. First, choose secure spots where vibrations or movement are most likely to occur, such as near doors, windows, or the trunk. Next, carefully calibrate the sensors to reduce false alarms by adjusting sensitivity levels. When placing the sensors, guarantee they face inward or toward key entry points for maximum detection. Here’s what to consider:
Secure your vehicle with well-placed shock and motion sensors, calibrated for optimal detection and minimal false alarms.
- Select mounting surfaces free of vibrations that could trigger false alarms.
- Position shock sensors close to doors or windows for better responsiveness.
- Calibrate each sensor for sensor sensitivity, balancing detection and avoiding false alarms.
- Be aware of sensor placement strategies that enhance overall alarm effectiveness and reduce false alerts. Proper alarm placement and calibration are essential for effective security without unnecessary disturbances. Additionally, understanding vehicle electrical systems can help ensure proper installation and reliable operation of your alarm system.
- Familiarity with electrical wiring principles can further improve the safety and reliability of your installation. Gaining knowledge of wiring diagrams can help you troubleshoot and make precise connections, ensuring the system functions correctly.
Connecting the Alarm System to Your Car’s Power Supply
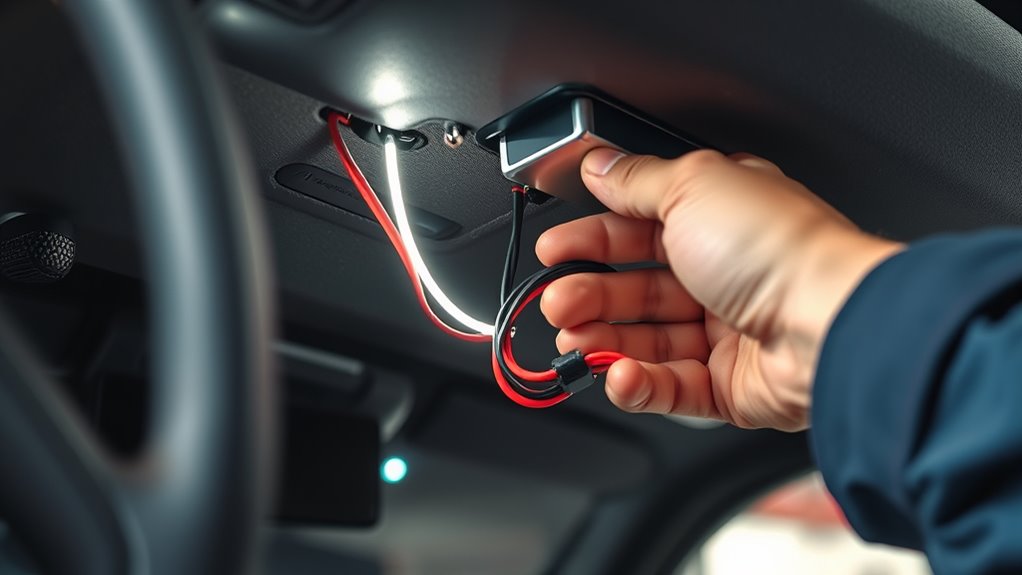
Connecting your alarm system to your car’s power supply is a crucial step that guarantees the system functions reliably. Start by locating a suitable power source, usually the vehicle’s accessory or ignition wire. Make sure to connect the battery connections securely, ensuring a solid contact. Proper fuse placement is essential—install a fuse close to the power source to protect against voltage surges. Use a fuse tap or inline fuse holder to prevent damage to your vehicle’s electrical system. Double-check all connections before powering up. Refer to the table below for key connection points:
| Connection Point | Purpose | Tip |
|---|---|---|
| Battery terminals | Main power supply | Use a thick gauge wire |
| Fuse holder | Protects circuit | Place fuse as close as possible to power source |
| Ignition wire | System activation trigger | Connect to accessory wire |
| Ground connection | Completes circuit | Attach to a clean metal surface |
Additionally, ensure you understand the electrical system of your vehicle to avoid potential damage or safety hazards. Understanding the vehicle’s electrical architecture can help you identify the best connection points and prevent unintended issues. A thorough knowledge of your vehicle’s electrical wiring diagram is recommended before proceeding.
Testing and Fine-Tuning Your DIY Security System

Have you tested your alarm system thoroughly to guarantee it responds correctly? Proper alarm system testing is essential for reliable security. Start by verifying your sensor calibration: ensure sensors detect movement or door openings accurately without false alarms. Next, perform a series of alarm triggers:
- Open doors or windows to check if sensors activate the alarm promptly.
- Walk around the vehicle to test motion sensors, confirming they respond to movement.
- Use a remote or keypad to activate and deactivate the system, confirming all controls work smoothly.
- Regular testing can also help identify outdoor environmental factors that might affect sensor performance. Additionally, understanding family photoshoot fails can help you anticipate and mitigate distractions during testing if you have family members or pets around. Adjust sensor sensitivity if needed to prevent false alarms or missed detections. Fine-tuning these settings guarantees your security system functions flawlessly. Regular testing and calibration help you catch issues early, keeping your vehicle protected. Additionally, proper soil conditions can influence the effectiveness of outdoor security setups if you have cameras or sensors installed outside. Furthermore, being aware of sensor placement can optimize coverage and reduce blind spots. Incorporating proper maintenance routines ensures your system remains in excellent working condition over time.
Frequently Asked Questions
Can I Upgrade My Alarm System Without Professional Help?
Yes, you can upgrade your alarm system yourself. You’ll need to install remote sensors and customize the alarm settings to suit your needs. Follow detailed instructions and watch online tutorials for guidance. Make sure to disconnect the battery before starting, and carefully connect the new components. With patience, you can enhance your vehicle’s security without professional help, enjoying a tailored alarm system that provides better protection.
What Are Common Signs My Current Alarm Is Ineffective?
You notice your alarm system frequently goes off without cause, or it fails to activate when you access your vehicle. These signs point to ineffective alarm system features or vehicle compatibility issues. If your alarm doesn’t respond reliably, your car’s security is compromised. Stay alert for false alarms, delayed responses, or inconsistent performance. Recognizing these warning signs helps you decide if upgrading or troubleshooting your alarm system is necessary to protect your vehicle better.
How Do I Choose the Best Sensors for My Vehicle?
To choose the best sensors for your vehicle, focus on sensor placement to maximize coverage and effectiveness. Consider compatibility considerations, ensuring the sensors work with your alarm system and vehicle type. Look for sensors designed for automotive use, such as door, motion, or glass-break sensors. Select high-quality, durable options that suit your environment, and install them in strategic locations to prevent tampering and theft effectively.
Are There Legal Considerations When Installing DIY Alarms?
Think of installing a DIY alarm as walking a tightrope—you need balance and awareness. You must guarantee legal compliance, like avoiding false alarms that annoy neighbors or violate local regulations. Also, consider insurance implications; some policies may require professional installation or specific alarm features. Ignoring these rules can turn your security upgrade into a legal minefield, so research local laws and insurance policies before you start, keeping your project safe and worry-free.
How Long Does a Typical Alarm Installation Take?
Alarm installation usually takes about 2 to 4 hours, depending on your experience and the complexity of your security upgrades. If you’re familiar with car wiring and electronics, you might finish faster. For beginners, it’s best to set aside ample time and follow instructions carefully. Rushing can lead to mistakes, so taking your time guarantees a proper, secure alarm system that enhances your vehicle’s security effectively.
Conclusion
Upgrading your older vehicle with a DIY alarm can boost security without breaking the bank. Did you know that cars with installed alarms are 50% less likely to be stolen? By evaluating your needs, gathering the right tools, and following the installation steps, you can protect your ride effectively. Enjoy peace of mind knowing your car is better guarded—and all it takes is a bit of effort and some simple upgrades.