To convert your existing lights into always-on daytime running lights, tap into your vehicle’s power system and use a relay to control the lights efficiently. Connect the LEDs with proper polarity, add inline resistors if needed, and guarantee all wiring is secure and insulated. Incorporate a fuse for safety, and consider adding a switch for manual control. If you follow these steps carefully, you’ll achieve reliable DRLs — keep going to learn more detailed instructions.
Key Takeaways
- Tap into your existing headlight circuit and add a relay to power the lights as daytime running lights (DRLs).
- Use compatible LED bulbs or install inline resistors to prevent flickering and ensure consistent brightness.
- Incorporate a fuse and proper wiring routing for safety, durability, and a clean installation.
- Use a relay control circuit with a switch for manual override and prevent electrical backfeed issues.
- Test thoroughly for flickering, overheating, and electrical safety before finalizing the setup.
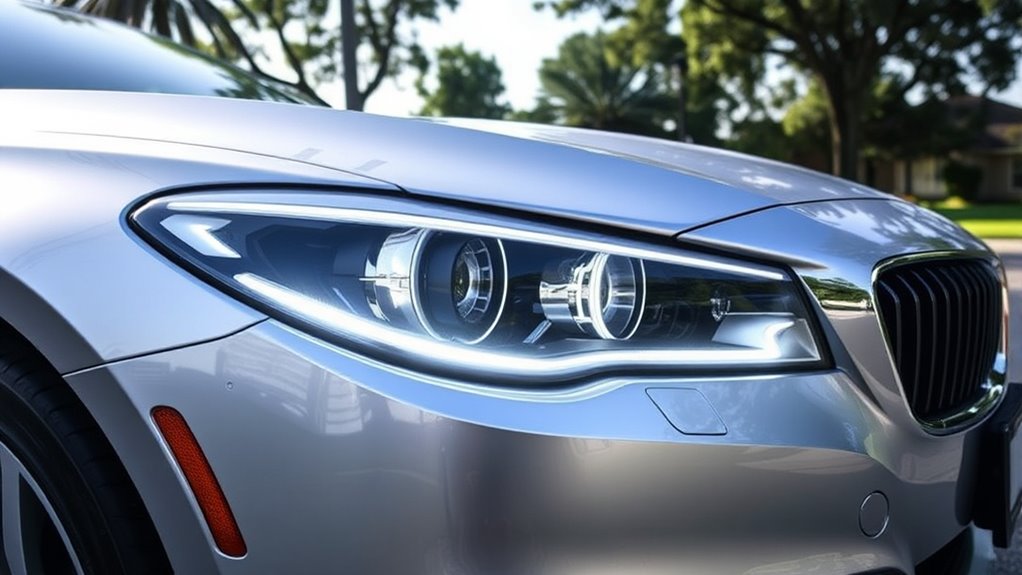
Adding daytime running lights (DRLs) to your vehicle is a practical way to increase visibility and safety on the road, and you don’t need to be a professional mechanic to do it yourself. Converting your existing lights into always-on DRLs involves some basic electrical work, but with the right approach, it’s straightforward. The key is understanding LED wiring and power management to guarantee your new lights operate reliably without draining your battery or causing electrical issues.
Start by identifying the circuit that powers your existing headlights. You’ll want to tap into this circuit to keep your DRLs on whenever the vehicle is running. Using a relay is essential to manage power effectively. The relay acts as a switch that controls the LED wiring, preventing backfeed and protecting your vehicle’s electrical system. When wiring your LEDs, guarantee they are compatible with your vehicle’s voltage—most automotive LEDs operate at 12 volts—and verify that your wiring can handle the current load.
When connecting your LED lights, keep power management in mind. Use appropriately rated fuses in your wiring setup to prevent overloads and short circuits. Run the wiring neatly, with secure connections and proper insulation, to avoid any accidental disconnections or shorts. It’s best to route your wiring along existing panels or harnesses to keep everything tidy and shielded from damage. If you’re using a switch to control the DRLs manually, wire it in parallel with the relay, but guarantee it’s rated for automotive use.
Pay close attention to LED wiring details; LEDs are polarity-sensitive, so connect the positive (+) lead to the power source and the negative (–) lead to ground. Using inline resistors or resistors built into the LED units can prevent current surges that might damage the lights. When managing power, consider adding a resistor or load resistor if you notice flickering, which can happen if your vehicle’s electrical system isn’t providing a consistent current. This step guarantees your LEDs stay bright and steady.
Additionally, consulting electrical wiring standards can help ensure your setup adheres to safety and reliability best practices. Finally, test your setup thoroughly before finalizing everything. Turn on your vehicle, activate the lights, and guarantee they remain on without flickering or causing any dashboard warning lights. Check for any signs of overheating or unusual wiring behavior. Proper LED wiring and power management are essential for a safe, effective conversion. Once everything checks out, securely fasten all connections, hide the wiring, and enjoy your DIY solution for always-on daytime running lights that boost your visibility and safety on the road.

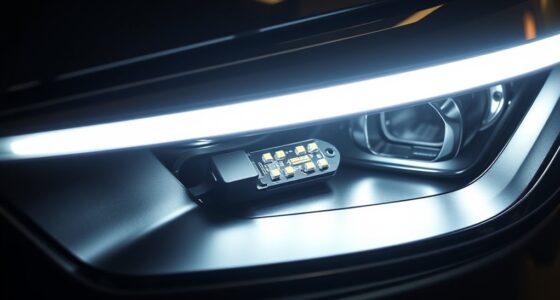
YIJINSHENG Car Universal Fit 9 LED High Power LED Daytime Running Lights DRL Kit Extreme Bright Spot Fog Lamp Xenon White Auto Accessories
Powered by 9 pieces xenon white LED lights
As an affiliate, we earn on qualifying purchases.
As an affiliate, we earn on qualifying purchases.
Frequently Asked Questions
Can I Install DIY DRLS on Any Vehicle Model?
You can install DIY DRLs on many vehicles, but vehicle compatibility varies. Check your vehicle’s make and model to confirm the existing lights can be converted. Aftermarket options are widely available and often adaptable, but some cars may require specific wiring or additional components. Always research your vehicle’s requirements and review installation guides or consult professionals to ensure a safe, effective DIY DRL setup that works with your vehicle.
What Tools Are Required for Converting Existing Lights Into DRLS?
You’ll need basic tools like wire strippers, a screwdriver, and electrical tape for converting your lights into DRLs. Focus on electrical wiring skills to connect the LED installation properly, ensuring your lights stay on during the day. A multimeter helps test connections, and crimping tools make secure joins. With these tools, you can safely modify your existing lights into effective, always-on daytime running lights.
Will Converting Lights Affect My Car’s Warranty?
Converting your lights into DRLs may impact your manufacturer warranty if the modifications are considered aftermarket alterations. You might face warranty issues if the conversion causes electrical problems or damages your vehicle, as manufacturers often view such modifications as voiding certain coverage. To avoid problems, check your warranty terms and consider consulting your dealer beforehand. Keep in mind, some modifications may be approved or require professional installation to prevent warranty issues.
How Much Does It Typically Cost to DIY Install DRLS?
Cost concerns? Converting your lights into DRLS costs approximately $20 to $50, depending on your parts and tools. Material expenses include basic wiring, switches, and possibly connectors or resistors. You’ll save money by doing it yourself, but remember, budget for a few extra dollars for unforeseen fixes. With minimal investment, you can illuminate your vehicle, making it safer and more stylish without draining your wallet.
Are There Legal Regulations for Daytime Running Lights?
You need to check local laws because legal regulations for daytime running lights vary. Some areas require DRLs to meet specific safety standards, and failure to conform can lead to fines or failed inspections. Always verify your DIY-installed DRLs adhere to legal compliance and safety standards in your region. Research your state or country’s vehicle lighting laws before making modifications, so you stay within legal limits and keep your vehicle safe.
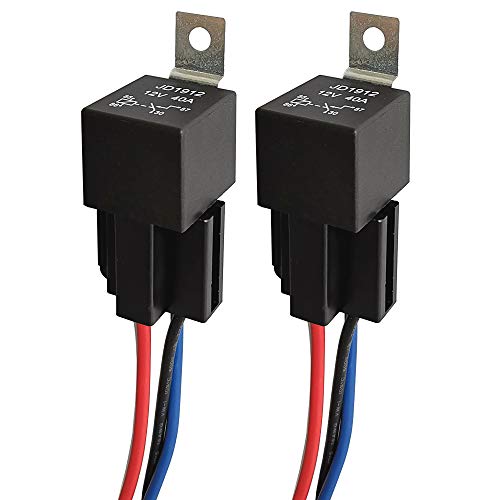
Gebildet 2pcs JD1912 Car Relay Harness 12V 40A 4 Pin SPST 12AWG Harness Sockets with Built-in Diode for Automotive Truck Van Motorcycle Boat
Integrated Diode: Each relay includes a built-in diode that suppresses induced voltage during switching, safeguarding your electrical components…
As an affiliate, we earn on qualifying purchases.
As an affiliate, we earn on qualifying purchases.
Conclusion
Now that you’ve learned how to convert your existing lights into DIY daytime running lights, you can enjoy the added safety and style they bring. Think of it like giving your car a constant, bright smile that’s always ready to greet the road. With just a few simple steps, you turn ordinary lights into a powerful safety feature. So, get started and enjoy the confidence of driving with your custom-made DRLs shining brightly ahead!

1398Pcs Automotive Electrical Connectors Kit, 28 Types Electrical Terminal Pins Kit with Crimp Tool, Relay Fuse Remover & Car Disassembly Tool, Male/Female Wire Terminals for Professional Auto Repair
【All Auto Electrical Needs】This automotive connector tool kit includes 1398 accessories, including 760 pin terminals in 28 different…
As an affiliate, we earn on qualifying purchases.
As an affiliate, we earn on qualifying purchases.

Mobilistics DRL Daytime Running Lights Universal Control Module
As an affiliate, we earn on qualifying purchases.
As an affiliate, we earn on qualifying purchases.