
To create your own Raspberry Pi-based infotainment system, start by selecting a suitable Pi model like the Raspberry Pi 4 and a reliable power source. Mount a touchscreen display securely inside your vehicle and connect it to the Pi, ensuring neat wiring. Install a lightweight OS like Raspberry Pi OS, then add media center software such as Kodi or Volumio. Customize the setup with GPS, voice control, and other apps. Keep everything updated for smooth operation, and if you continue exploring, you’ll discover how to perfect your system further.
Key Takeaways
- Select a Raspberry Pi model, like Pi 4, and ensure stable power supply integration for vehicle use.
- Install media center software such as Kodi or Volumio for seamless media management.
- Mount a high-resolution touchscreen display securely within the vehicle for easy access and visibility.
- Connect hardware components neatly, including audio connection to vehicle speakers and cable management.
- Customize the system with GPS, voice control, and other apps to enhance functionality and user experience.
Creating your own Raspberry Pi infotainment system is a rewarding way to upgrade your vehicle’s entertainment options without breaking the bank. With a little effort and some basic knowledge, you can craft a custom setup tailored precisely to your preferences. The first step is understanding that DIY installation is manageable and offers the flexibility to incorporate various hardware components seamlessly. You won’t need advanced technical skills; just patience and a willingness to learn. Start by selecting a Raspberry Pi model suited for your needs—most often, the Raspberry Pi 4 provides enough processing power and connectivity options. Next, you’ll want a reliable power source, typically a USB or 12V power converter, to ensure stable operation while driving.
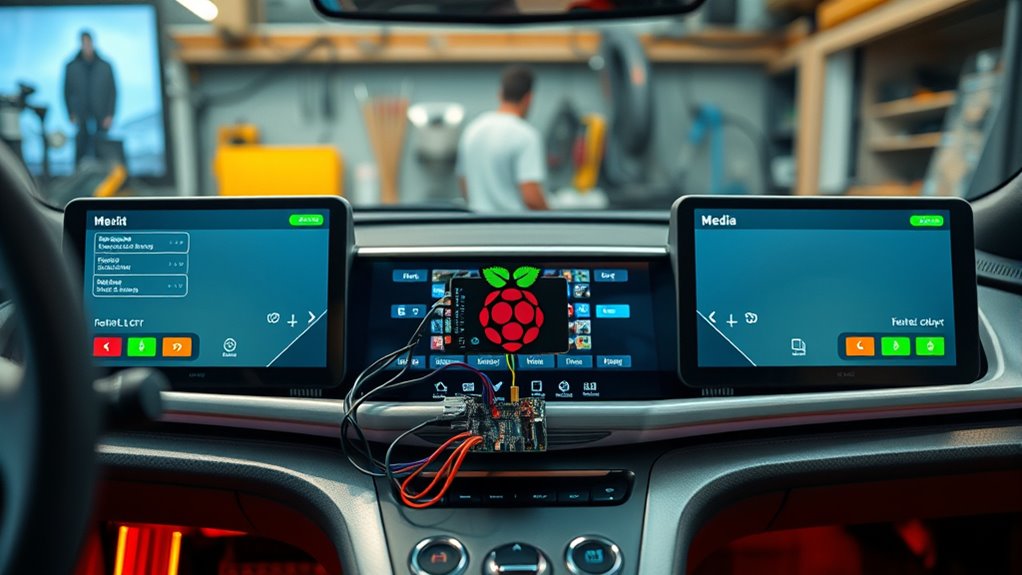
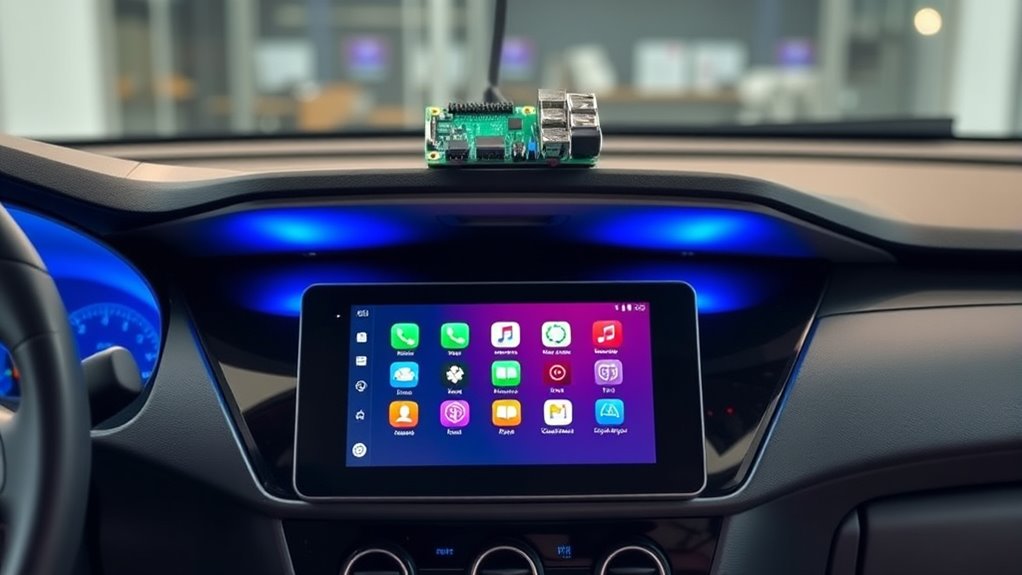
Once you’ve secured your hardware, the real fun begins with hardware integration. You’ll connect your Raspberry Pi to your vehicle’s existing audio system, which might involve using a USB sound card or an auxiliary connection to ensure high-quality sound. For a clean and professional look, consider installing a dedicated touchscreen display compatible with the Pi, mounted securely within your dashboard or center console. This allows you to control media, navigation, and other apps easily. When it comes to wiring, make sure to route cables neatly, avoiding interference and keeping the installation tidy. You might need to modify or create custom mounts or enclosures, but these are simple projects that can be accomplished with basic tools. Additionally, selecting a display with high resolution and color accuracy can greatly improve your visual experience.
Software setup is equally important. You’ll want to install a lightweight, user-friendly operating system like Raspberry Pi OS, along with media center software such as Kodi or Volumio. These platforms offer intuitive interfaces for media playback, streaming, and navigation. Customization can enhance your experience—installing apps for GPS, voice control, or even integrating with smart home devices. Updating firmware and drivers ensures compatibility with your hardware and improves stability. Don’t forget to configure your system to boot automatically on startup, so your infotainment system is ready as soon as you turn on your vehicle.
Throughout the process, troubleshooting is part of the journey. If your hardware doesn’t seem to work as expected, double-check connections and compatibility. Many online communities and tutorials can provide guidance specific to your setup. Remember, this project isn’t just about installing a device; it’s about creating a personalized entertainment hub that enhances your driving experience. By planning carefully, doing a DIY installation, and mastering hardware integration, you’ll end up with a custom Raspberry Pi-based infotainment system that’s not only functional but also uniquely yours. This project combines technical skill with creativity, making your vehicle more enjoyable and tech-savvy.

SunFounder Picar-X AI Video Robot Car Kit for Raspberry Pi 5/4/3B+/Zero 2w, LLMs ChatGPT-4o/Gemini/Grok, Voice&Video Recognition, Python, Scratch, Camera, Batterry (RPI NOT Included)
AI-Powered Raspberry Pi Smart Car — PiCar-X: PiCar-X brings AI learning to life — powered by multi-LLMs including…
As an affiliate, we earn on qualifying purchases.
As an affiliate, we earn on qualifying purchases.
Frequently Asked Questions
What Are the Best Power Options for a Raspberry Pi in a Car?
For your Raspberry Pi in a car, choose a reliable power source that offers power stability and a battery backup. A car USB power adapter with a regulated output ensures consistent voltage, preventing crashes. Consider using a DC-DC power supply with surge protection for added safety. Adding a small UPS or battery backup guarantees operation during engine startup or power fluctuations, keeping your infotainment system running smoothly without interruptions.
How Do I Ensure My Raspberry Pi’s Software Stays Updated Automatically?
To guarantee your Raspberry Pi’s software stays updated automatically, you should enable auto upgrade for software updates. You can do this by configuring the system to run daily updates with commands like `sudo apt-get upgrade -y` in a cron job. This way, your device will regularly check for and install software updates, keeping your infotainment system secure and up-to-date without manual intervention.
Can I Integrate Voice Control Into My Custom Infotainment System?
A bird in the hand is worth two in the bush, so yes, you can integrate voice control into your infotainment system. You’ll want to set up voice command software like Mycroft or Google Assistant SDK on your Raspberry Pi. This allows hands-free control of music, navigation, and more. Just guarantee your microphone is properly configured, and you’ll enjoy seamless voice command functionality for a safer, more convenient driving experience.
What Safety Considerations Should I Keep in Mind During Installation?
During installation, make certain you avoid airbag interference by keeping your Raspberry Pi and wiring away from airbag deployment zones. Prioritize proper electrical grounding to prevent electrical issues or shorts that could compromise your system or vehicle safety. Double-check all connections, secure components tightly, and follow manufacturer guidelines. Taking these precautions helps ensure a safe, reliable setup that doesn’t interfere with your vehicle’s safety features.
How Can I Troubleshoot Connectivity Issues With External Devices?
Imagine your devices are dancers trying to find their rhythm on a crowded dance floor. To troubleshoot connectivity issues, check device pairing first—make sure they’re correctly synced. Look out for signal interference from other electronics or Wi-Fi networks, which can drown out their connection. Reset your external device and Raspberry Pi Bluetooth or Wi-Fi modules if needed. Keep the dance smooth by ensuring clear, unobstructed signals for seamless harmony.
Hosyond 7 Inch Touchscreen IPS DSI Display Compatible with Raspberry Pi 5/4/3, 800×480 Pixel Capacitive Screen MIPI Driver-Free Interface
7 inches, 800×480 pixels, IPS type, wide viewing angle, capacitive touchscreen, enjoy smooth touch response and excellent clarity…
As an affiliate, we earn on qualifying purchases.
As an affiliate, we earn on qualifying purchases.
Conclusion
Now that you’ve built your own Raspberry Pi infotainment system, you’re steering your car’s tech like a captain maneuvering familiar waters. With your custom setup, every drive becomes a personalized voyage, full of your favorite tunes and apps. Remember, this project is your ship—steady and adaptable—ready to sail through endless adventures. Keep experimenting and refining, because just like a true explorer, your journey with your DIY system is only beginning.

USB Sound Card with 8Ω 5W Speaker for Raspberry Pi/Jetson Nano, USB to Audio Adapter Support Recording and Playback, Stereo Codec Onboard Microphone and Speaker Header, Driver-Free, Plug and Play
This is a USB sound card/USB audio module with 8Ω 5W Speaker that supports recording and playback, a…
As an affiliate, we earn on qualifying purchases.
As an affiliate, we earn on qualifying purchases.

PlusRoc Waterproof 12V/24V to 5V Converter DC-DC Step Down Module Power Adapter Compatible with Raspberry Pi 4, Cellphone, Car (USB Type-C Connector)
Input Voltage: DC 8-32V, (12V/24V is recommend); Power Leads Wire Gauge: 20 AWG
As an affiliate, we earn on qualifying purchases.
As an affiliate, we earn on qualifying purchases.