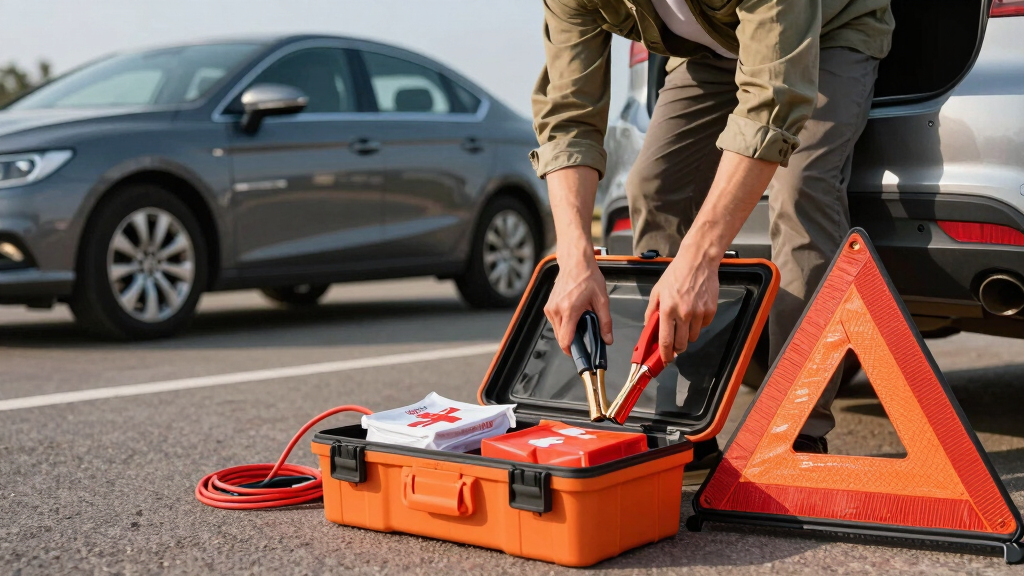

This guide shows how to assemble a complete car emergency kit that prepares you for breakdowns, accidents, or other roadside emergencies. It is designed for drivers with basic knowledge of vehicle safety and aims to ensure you can handle common issues confidently. Completing this task will give you peace of mind and a ready supply of essentials for roadside situations.

Get business pricing on garage and car supplies
- Business-only prices and quantity discounts
- Tax-exempt purchasing
- Multiple users, one account, clear invoices
Difficulty: Beginner | Time: 30-60 minutes
What You’ll Need
Tools & Materials:
- None
Knowledge:
- Basic vehicle safety awareness
Gather all items before starting to ensure completeness. Check expiry dates on supplies like first aid kits and batteries.
As an affiliate, we earn on qualifying purchases.
Before You Start
Verify your vehicle’s space for storing the kit. Consider customizing the kit based on your driving environment (urban, rural, long trips). Be aware of local regulations regarding roadside equipment.
As an affiliate, we earn on qualifying purchases.
Step-by-Step Instructions
Step 1: Select a suitable storage container
Choose a durable, waterproof, and clearly labeled container or bag to hold your emergency supplies. It should fit in your vehicle without obstructing access or visibility.
Tip: Use a container with compartments or clear sections to organize items for quick access.
Check: Container is sturdy, labeled, and fits comfortably in your vehicle’s designated storage area.
Step 2: Gather essential safety items
Collect items including a reflective warning triangle, high-visibility vest, and a flashlight with extra batteries. Place them in the container for easy access.
Tip: Ensure warning devices are in working condition and easily visible in emergencies.
Check: Items are complete, functional, and stored in an accessible location.
Step 3: Include basic repair tools and supplies
Add a tire pressure gauge, multi-tool or basic wrench, jumper cables, and a small toolkit. These help address minor mechanical issues.
Tip: Check jumper cables for frayed wires before storing.
Check: Tools are complete, functional, and stored securely.
Step 4: Add essential first aid supplies
Include a basic first aid kit with bandages, antiseptic wipes, pain relievers, and any personal medications. Ensure it is within expiry date.
Tip: Update supplies regularly and check for expired items.
Check: First aid kit is complete, accessible, and up-to-date.
Step 5: Include emergency communication devices
Place a charged mobile phone, portable charger, and, if applicable, a whistle or personal alarm in the kit for communication and signaling.
Tip: Test portable charger regularly to confirm functionality.
Check: Devices are functional, charged, and easy to find.
Step 6: Add comfort and survival items
Include bottled water, non-perishable snacks, a blanket, and disposable gloves. These items help sustain you during delays or emergencies.
Tip: Choose non-perishable, easy-to-store items for space efficiency.
Check: Items are present, sealed, and stored properly.
Step 7: Review and personalize the kit
Assess your specific needs based on your vehicle type, climate, and typical driving conditions. Add any additional items like tire chains, snow scrapers, or extra clothing.
Tip: Remove unnecessary items to keep the kit compact and manageable.
Check: Your emergency kit is tailored to your typical driving environment.
As an affiliate, we earn on qualifying purchases.
Common Mistakes to Avoid
- Overloading the kit with unnecessary items — Only include essential items relevant to your driving conditions to avoid clutter and weight issues.
- Neglecting to check expiry dates — Regularly inspect supplies like first aid kits and batteries, replacing expired items immediately.
- Storing the kit in an inaccessible location — Place the kit where it is easy to reach quickly, such as the trunk or under a seat.
As an affiliate, we earn on qualifying purchases.
Troubleshooting
Problem: The warning triangle or reflective vest is missing or damaged
Solution: Replace these items immediately and test reflective materials under different lighting conditions.
Problem: Jumper cables won’t connect or are frayed
Solution: Replace damaged cables and ensure connectors are clean and free of corrosion.
Problem: First aid supplies are expired or insufficient
Solution: Restock and replace expired items regularly, ideally every 6-12 months.
What Success Looks Like
The emergency kit contains all essential, functional items organized neatly in a labeled container. It is stored in an accessible location within your vehicle. You can quickly locate and use each item in an emergency scenario, and the kit is tailored to your driving environment.
Next Steps
Review and update your kit every 6 months or after any significant use. Practice using key items like jumper cables and first aid supplies. Keep contact information for roadside assistance in your vehicle. Consider adding seasonal or environment-specific gear as needed.
Frequently Asked Questions
How often should I check my emergency kit?
Inspect your kit at least twice a year and after any use to ensure all supplies are intact and functional.
What if I don’t know how to use some items?
Learn basic usage for items like jumper cables and first aid supplies through online tutorials or local safety courses.
Can I customize the kit for different seasons?
Yes, add items like winter gloves, ice scrapers, or sun protection depending on the climate and season.
Where is the best place to store my emergency kit in the vehicle?
Store it in a accessible, secure spot like the trunk, under a seat, or in a dedicated compartment, avoiding high-heat areas.
Halloween Picks
halloween
As an affiliate, we earn on qualifying purchases.