
Adding a blind spot detection system to your car is a doable DIY project that boosts safety and awareness. You’ll need sensors, wiring tools, and a reliable power source, plus some basic installation skills. Proper placement, wiring, and calibration are key to ensuring accuracy and avoiding false alerts. Regular maintenance keeps the system working well. Keep exploring further, and you’ll discover how to install, calibrate, and customize your own blind spot system for safer drives.
Key Takeaways
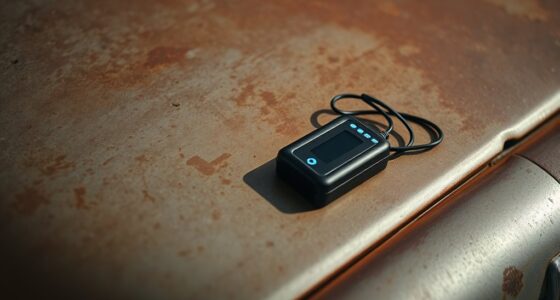
- Select compatible blind spot sensors designed for DIY installation, typically mounted on rear bumper corners.
- Follow proper wiring diagrams and use reliable power sources to ensure consistent system operation.
- Perform accurate calibration to adjust sensitivity and detection angles, minimizing false alerts.
- Regularly clean sensors and inspect wiring to maintain detection accuracy and system reliability.
- Customize alert settings and consider additional safety features for optimal vehicle protection.
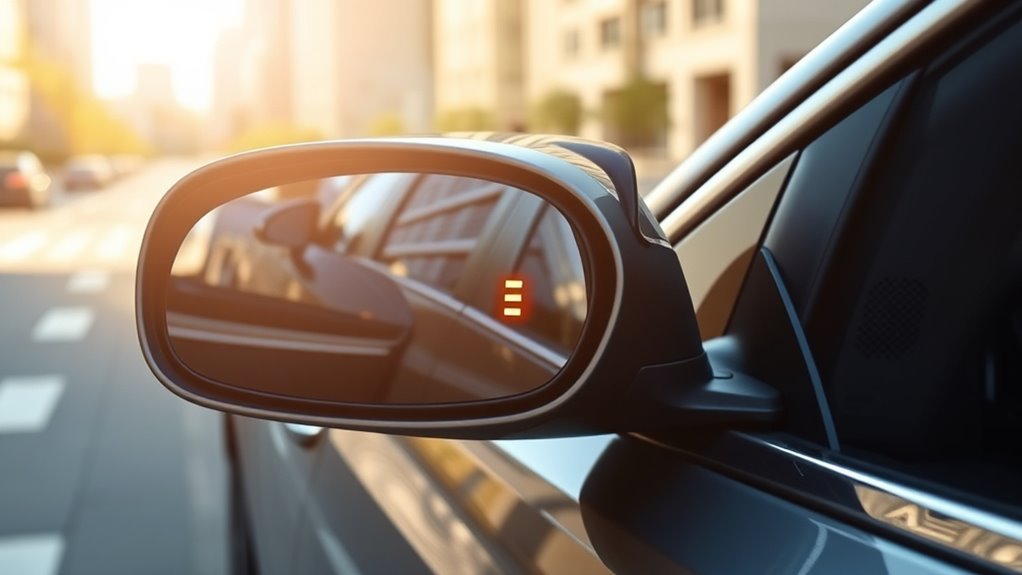
Understanding Blind Spot Detection Systems and Their Benefits

Blind spot detection systems are designed to enhance your safety by alerting you to vehicles hidden in your blind spots. These systems improve vehicle ergonomics by seamlessly integrating sensors into your car’s design, making alerts intuitive and less distracting. Proper sensor calibration is vital; it ensures the system accurately detects nearby vehicles, preventing false alarms or missed warnings. When calibrated correctly, the system provides timely alerts, giving you confidence when changing lanes or merging. The benefits are significant: increased awareness, reduced accidents, and safer driving experiences. Understanding how these systems work and the importance of maintenance, like sensor calibration, helps you maximize their effectiveness. Regular system maintenance ensures your blind spot detection remains reliable and accurate. Proper calibration involves adjusting sensors to account for vehicle positioning and environmental factors, which is essential for optimal performance. Additionally, understanding sensor placement can help you troubleshoot and enhance the system’s reliability. A proper installation process ensures the sensors are correctly aligned for consistent detection, further improving safety. With the right setup, blind spot detection becomes a reliable safety feature that integrates smoothly into your vehicle’s existing architecture, and being aware of sensor calibration techniques can help you maintain peak system performance over time.
Gathering the Necessary Tools and Components for Your Upgrade

Before you begin installing a blind spot detection system, you need to gather the essential tools and components. First, collect sensors compatible with your vehicle’s make and model. You’ll also need a drill, screwdrivers, and zip ties for secure mounting. A multimeter helps with wiring techniques, ensuring proper connections and power sources. Consider a wiring harness designed for your system to simplify installation. Clear instructions or a wiring diagram are invaluable, guiding you through sensor placement to optimize detection angles. You might also need adhesive or brackets for stable sensor mounting. Double-check that you have all necessary connectors and extension wires. Preparing these tools and components beforehand saves time, reduces frustration, and guarantees a smooth, successful DIY upgrade. European cloud innovation can also provide valuable insights into advanced vehicle technology integrations.
Installing the Sensors: Placement and Wiring Tips
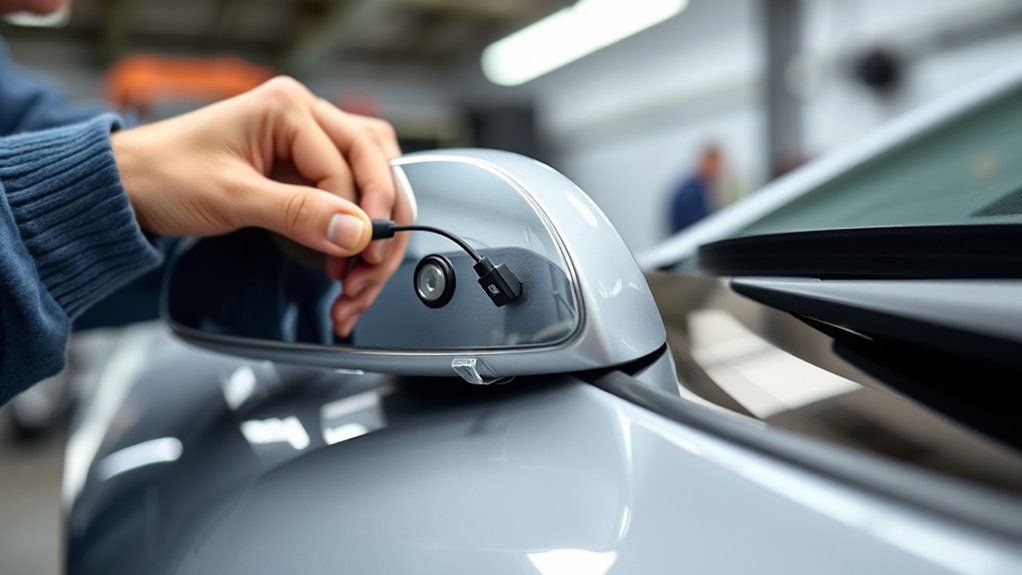
To guarantee your sensors work effectively, proper placement and wiring are essential. Start with sensor placement by choosing locations that provide a clear, unobstructed view of your blind spots, usually on the rear bumper’s corners. Ensure the sensors face directly outward and are mounted at the correct height for accurate detection. When wiring, use clean, secure wiring techniques to prevent damage from vibrations or weather. Run wires along existing trim or under panels to keep them hidden and protected. Avoid crossing wires or leaving them loose, which could cause false alerts or electrical issues. Connect the sensors to a reliable power source, making sure the wiring is insulated and secure. Proper sensor placement and wiring set the foundation for an effective blind spot detection system. Additionally, referencing wiring basics can help ensure your connections are safe and durable. Moreover, understanding sensor calibration can further enhance system accuracy and reliability. Performing regular system checks can help maintain optimal performance over time. Taking the time to test your system periodically will help identify and address potential issues before they become serious.
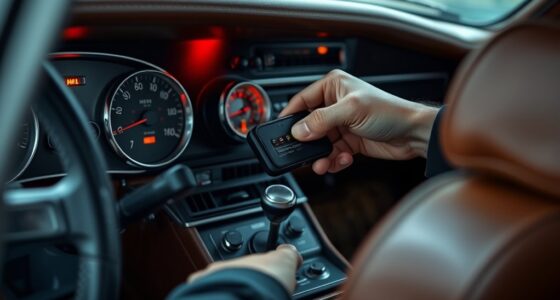
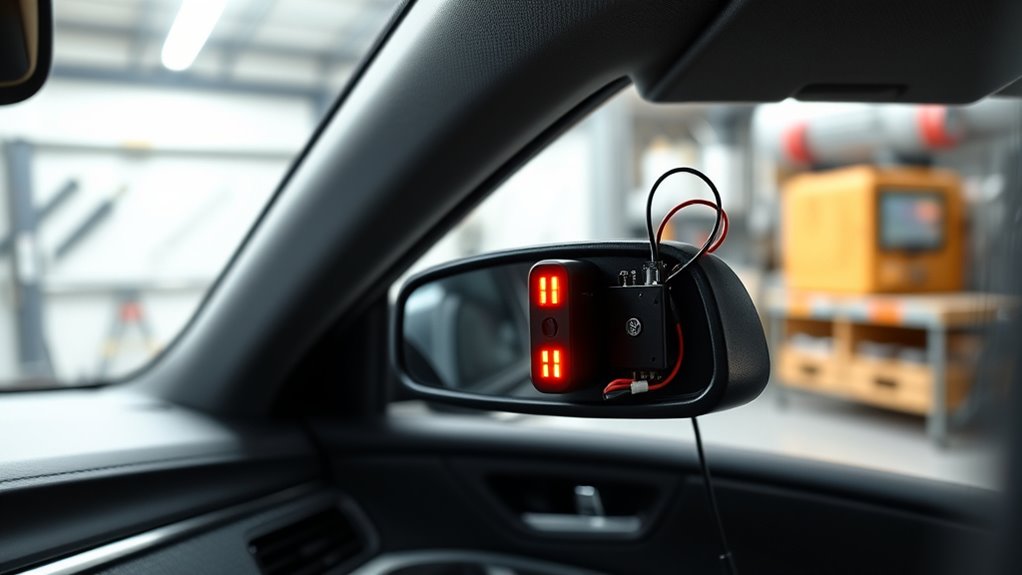
Connecting the Alert System: Integrating With Your Vehicle’s Electronics
Connecting the alert system to your vehicle’s electronics is a critical step that guarantees reliable notifications. To do this effectively, follow detailed wiring diagrams tailored for your car’s make and model. These diagrams guide you through connecting sensors to the alert module and the vehicle’s power supply. Once wired, you’ll need to perform sensor calibration to ensure accurate detection. Proper calibration adjusts the sensors’ sensitivity, reducing false alarms and missed alerts. Double-check all connections, making sure wires are secure and insulated. Avoid shortcuts, as poor wiring can cause intermittent alerts or system failure. Taking the time to carefully connect and calibrate your system ensures it functions seamlessly with your vehicle’s existing electronics, providing consistent and trustworthy blind spot alerts. Vetted wiring and calibration procedures are essential to prevent wave and wind interference that could disrupt system performance. Additionally, ensuring compatibility with your vehicle’s electrical system helps maintain optimal operation and safety.
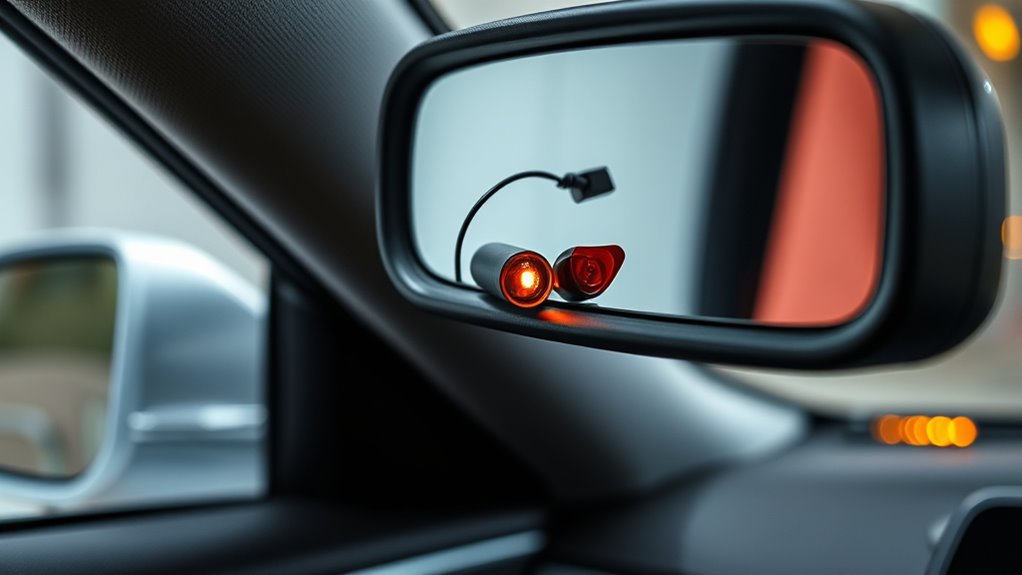
Testing and Calibrating Your DIY Blind Spot Alerts
Once you’ve wired and calibrated your sensors, the next step is to test the system thoroughly to verify it works correctly. Start by driving at low speeds in a safe area, then have a passenger or use objects to simulate vehicles in your blind spots. Pay close attention to the sensor calibration, ensuring the alerts activate at the right moments when a vehicle enters your blind spot. Adjust the alert volume to a level that’s noticeable without being disruptive. Test from different angles and distances to confirm consistent performance. If the alerts don’t trigger as expected, revisit the sensor calibration, checking for proper alignment and wiring. Proper testing guarantees your DIY blind spot alerts function reliably and keep you safe on the road.
Tips for Maintaining and Troubleshooting Your System
To keep your blind spot system working reliably, you should perform regular checks and keep sensors clean. If you notice warning alerts or inconsistent responses, troubleshooting can often rectify the issue. Staying proactive with maintenance ensures your system stays accurate and ready when you need it. Additionally, understanding sensor calibration can help maintain optimal detection accuracy over time. Regularly consulting your vehicle’s owner’s manual can provide specific guidance on system checks and calibration procedures. Incorporating water-resistant features into sensor maintenance can also help prevent malfunctions caused by moisture or debris. Being aware of environmental considerations, such as low light or weather conditions, can further improve system reliability. Ensuring proper sensor alignment is vital for maintaining accurate detection and avoiding false alerts.
Regular System Checks
Regular system checks are essential to guarantee your blind spot detection works reliably whenever you need it. Start by inspecting sensor placement to verify they’re mounted securely and aligned correctly for maximum coverage. Confirm wiring follows best practices—look for loose connections or exposed wires that could cause malfunctions. Regularly test the system by driving in different conditions to verify alerts activate properly. Keep an eye on the wiring harness for any signs of wear or damage, especially near moving parts or heat sources. Also, check that sensors aren’t obstructed by dirt or debris, which can impair performance. Proper maintenance ensures consistent operation, so schedule routine checks to catch issues early and keep your DIY upgrade functioning flawlessly.
Sensor Cleaning Tips
Keeping your sensors clean is essential for maintaining accurate blind spot detection. Dirt, dust, and grime can interfere with sensor calibration, leading to false alerts or missed detections. To prevent this, regularly wipe the sensors with a soft, damp cloth—avoid harsh cleaners that could damage the surfaces. Moisture prevention is key; always dry the sensors thoroughly after cleaning to prevent water spots or corrosion that could impair sensor function. Inspect for any cracks or damage, as compromised sensors may need recalibration or replacement. Proper maintenance ensures your system stays reliable and responsive. Remember, clean sensors improve detection accuracy, so make sensor cleaning part of your regular vehicle care routine. This simple step helps keep your blind spot system working flawlessly. Additionally, understanding Free Floating technology can help you better troubleshoot and optimize your sensor system for maximum safety and performance.
Troubleshooting Alerts
Have you ever received an unexpected blind spot alert while driving? It can be frustrating, but most issues are fixable. First, check if your sensor needs calibration; sometimes, realignment or cleaning can resolve false alerts. Make certain the sensors are free of dirt, debris, or obstructions that interfere with detection. If alerts persist, consider adjusting the alert sound customization to better suit your preferences and reduce false alarms. Regularly update your system’s firmware or software to keep it running smoothly. Ultimately, verify wiring connections for loose or damaged cables. To troubleshoot effectively:
- Perform sensor calibration periodically
- Keep sensors clean and unobstructed
- Sensor maintenance and proper cleaning can prevent many common issues
- Customize alert sounds for clarity
- Update system software regularly
- Consult security zone info for system compatibility and troubleshooting tips
A comprehensive understanding of your system’s features can help you diagnose and resolve many problems quickly.
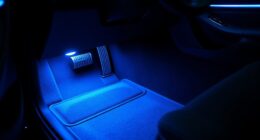
Enhancing Your Safety: Additional Features and Customizations
You can customize your alert settings to better suit your driving style, making warnings more noticeable or discreet as needed. Integrating other sensors, like parking or collision detection, enhances your system’s overall safety. Exploring these options helps you create a tailored setup that maximizes protection on the road. Additionally, considering advanced safety features can further improve your vehicle’s security and provide peace of mind during your drives. Implementing sensor calibration ensures your system remains accurate and reliable over time, adapting to your specific driving environment.
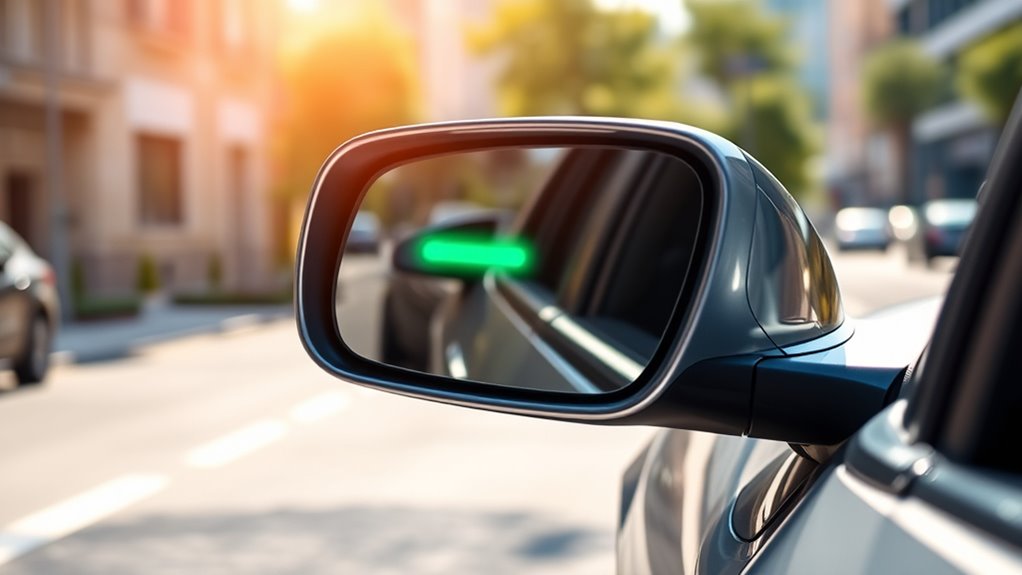
Customizable Alert Settings
Customizable alert settings allow you to tailor blind spot detection notifications to your preferences, guaranteeing you get the right level of warning without unnecessary distractions. You can adjust alert intensity, sound, and visual cues to match your driving style. Proper sensor calibration guarantees alerts remain accurate and reliable, reducing false alarms. With alert customization, you can choose whether alerts are subtle or more prominent, helping you stay focused on the road. Adjusting these settings helps prevent alert fatigue and keeps your attention sharp. Additionally, you can set different warning thresholds depending on speed or conditions, enhancing overall safety. By customizing your alert preferences, you guarantee the system works seamlessly for your driving habits, making your DIY upgrade both effective and user-friendly.
Integrating Other Sensors
Integrating additional sensors into your blind spot detection system can substantially boost your vehicle’s safety features. To guarantee accuracy, you’ll need to perform proper sensor calibration, adjusting sensitivity and alignment to match your car’s specifications. This step is vital to prevent false alerts or missed detections. When adding new sensors, it’s important to take into account safety regulations, which may specify the types of sensors allowed or require certain certifications. Compliance helps avoid legal issues and ensures your system meets industry standards. By carefully calibrating your sensors and adhering to safety regulations, you enhance your system’s reliability and performance. This process makes your DIY upgrade more effective, giving you greater confidence when changing lanes or maneuvering in complex traffic situations.
Frequently Asked Questions
Can I Install a Blind Spot Detection System on Any Vehicle Model?
Yes, you can install a blind spot detection system on most vehicle models, but you need to check vehicle compatibility first. Some systems are designed for specific makes and models, so verify that your car’s sensors and wiring can support the upgrade. Additionally, proper sensor calibration is essential for accurate detection, so make sure you follow the manufacturer’s instructions or get professional help to calibrate the system correctly.
What Is the Estimated Cost of a DIY Blind Spot Upgrade?
If you’re considering a DIY blind spot upgrade, expect a cost estimate of around $150 to $300, depending on the system quality. For example, a recent project shows that a mid-range kit costs about $200, which is a competitive price comparison to professional installations. This budget-friendly option allows you to enhance safety without breaking the bank, making it a smart investment for any vehicle.
Are There Any Legal Restrictions for Aftermarket Blind Spot Systems?
You should check local laws because legal restrictions on aftermarket blind spot systems vary by region. Some areas might require systems to meet specific safety standards or restrict certain modifications. Always review aftermarket regulations before installation to avoid fines or voided warranties. It’s wise to consult your local DMV or transportation authority to ensure your DIY upgrade complies with all legal restrictions and safety guidelines.
How Long Does the Installation Process Typically Take?
Imagine a quiet garage, your tools laid out like a surgeon’s instruments. Installing a blind spot detection system typically takes 2 to 4 hours, depending on your experience. You’ll need basic tools like screwdrivers and wire cutters. Follow step-by-step instructions, and you’ll have a safer drive in no time. Prepare for an installation timeline that’s manageable, ensuring you don’t rush and miss essential connections.
Can I Retrofit Advanced Features Like Cross-Traffic Alert Myself?
Yes, you can retrofit advanced features like cross-traffic alert yourself, but it depends on your vehicle compatibility and the system limitations. You’ll need to check if your car’s wiring and sensors support these upgrades. Keep in mind, some systems require specialized tools and knowledge, so if you’re not confident, consulting a professional might be a safer choice. Proper installation ensures safety and maximum performance.
Conclusion
By adding a DIY blind spot detection system, you can boost your safety on the road—did you know that nearly 300,000 accidents happen annually due to blind spots? With the right tools and some effort, you can customize a system that alerts you instantly, helping you avoid collisions. Regular maintenance guarantees it stays reliable. Take control of your safety and enjoy peace of mind every time you hit the road.