
Yes, you can add cooling seats to your car as a DIY upgrade with the right retrofit kits and parts. First, you’ll need to evaluate if your current seats support ventilation or if replacements are necessary. Then, carefully remove the seats, install fan modules, cooling pads, and wiring according to detailed diagrams. Proper installation ensures safety and effectiveness. Keep going to discover detailed steps and tips to help you successfully bring cooling comfort to your vehicle.
Key Takeaways
- Yes, you can add cooling seats using aftermarket retrofit kits designed for existing seats.
- Assess seat compatibility and ensure your vehicle supports ventilation system installation.
- Carefully follow installation steps, including wiring, mounting fans, and securing ventilation components.
- Review wiring diagrams to correctly connect power, ground, and control switches, preventing electrical issues.
- Test the cooling system thoroughly before reassembling seats to ensure proper function and safety.
If you find yourself frequently uncomfortable during long drives, upgrading your car seats with ventilation can make a significant difference. Adding cooling functionality isn’t as complicated as it might seem, especially if you’re comfortable with DIY projects. You can enhance your vehicle’s comfort by installing ventilated seats yourself, but it requires careful planning, particularly around seat installation and wiring diagrams. Before you begin, assess whether your current seats are compatible with aftermarket ventilation kits or if you need to replace them entirely. Some seats are built with integrated cooling systems, but many aftermarket kits are designed to retrofit existing seats, making the upgrade more accessible.
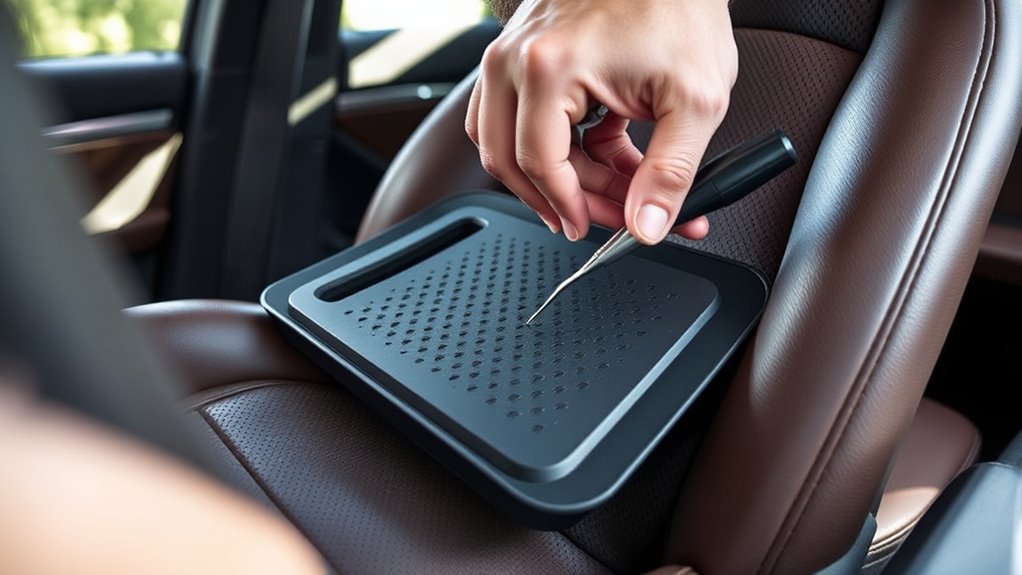
When it comes to seat installation, you’ll need to remove your current seats carefully, following your vehicle’s specific procedures. This involves disconnecting electrical connections, unbolting the seat brackets, and ensuring you don’t damage any wiring or fabric. Once the seats are removed, you can prepare the new or retrofit seats for installation. The process typically involves attaching the cooling pads, fans, and vents, which are often integrated into the seat cushions or backs. Proper seat installation is essential because it guarantees the ventilation system functions correctly without shifting or causing discomfort during driving. You’ll also need to consider how the new system integrates with your vehicle’s power source.
Wiring diagrams play a critical role in installing ventilated seats because they guide you through connecting the fans and switches to your vehicle’s electrical system. These diagrams detail the connections for power, ground, and control switches, helping you avoid mistakes that could lead to short circuits or malfunction. When working with wiring diagrams, it’s important to identify the correct fuse and relay points to protect your system. If you’re not experienced with automotive wiring, taking time to review the diagrams thoroughly can save you from troubleshooting issues later. Many aftermarket kits come with detailed wiring diagrams, making the process easier, but you still need to double-check your connections. Additionally, understanding the basics of power tools and equipment can help you handle the installation tools more safely and efficiently.
Once everything is wired and installed correctly, test the system before fully reassembling everything. Turn on your vehicle’s electrical system, activate the cooling seats, and listen for any unusual sounds or check for proper airflow. If the cooling system works as intended, secure all panels and reattach the seats to the brackets. With patience and attention to detail, you can successfully install ventilated seats and enjoy a cooler, more comfortable ride. Just remember, proper seat installation and accurate wiring diagrams are key to guaranteeing your DIY upgrade is safe, effective, and long-lasting.
Frequently Asked Questions
Are Ventilation Seat Kits Compatible With All Car Models?
Ventilation seat kits aren’t universally compatible with all car models. You need to check for universal compatibility, but many kits require custom installation to fit specific seats and interior layouts. It is crucial to verify your vehicle’s make and model before purchasing. If you opt for a DIY approach, be prepared for possible modifications during installation, ensuring the kit aligns with your car’s design for a seamless and effective cooling upgrade.
How Much Does a DIY Cooling Seat Installation Typically Cost?
A DIY cooling seat installation usually costs between $200 and $500, depending on the kit and your vehicle. You’ll want to compare the cost comparison with professional installation, which can be more expensive but may reduce installation challenges. Keep in mind, some challenges include fitting the cooling components correctly and wiring, so weigh the savings against potential hassles. Doing it yourself saves money but requires technical skills and patience.
Can I Add Ventilation Features to Existing Leather Seats?
You can add ventilation features to your existing leather seats, but it depends on your seat material and your technical skills. Leather seats often require special ventilation systems, so you’ll need to verify your seats can accommodate the necessary components. Also, consider your car’s power source; you’ll need a compatible power supply to run the fans or cooling modules. Proper installation is key to achieving effective ventilation without damaging your seats.
Do Cooling Seats Require Professional Electrical Wiring?
Cooling seats typically require professional electrical wiring because they involve complex components like fans and temperature controls. You shouldn’t attempt to install these features yourself, as improper wiring can lead to electrical issues or safety concerns. Instead, rely on a professional installation to guarantee your cooling seats function correctly and safely. This way, you get the comfort you want without risking damage to your vehicle’s electrical system.
How Long Does a DIY Ventilated Seat Installation Take?
Ever wonder how long a DIY ventilated seat installation takes? It typically spans 3 to 6 hours, depending on your experience. You’ll need to remove the seat foam carefully and connect wiring harnesses for the cooling system. Planning ahead and having the right tools can speed things up. Are you ready to transform your car’s comfort? With patience, you’ll enjoy refreshed, cooled seats in no time!
Conclusion
Think of ventilated seats as the heartbeat of your car’s comfort, offering cool relief amidst the heat. By adding cooling seats yourself, you’re not just upgrading your ride—you’re carving out a sanctuary, a personal oasis on wheels. With a little effort, you transform your vehicle into a symbol of control and innovation, turning everyday drives into invigorating escapes. Embrace the DIY journey, and let your car’s new cooling system reflect your desire for comfort and mastery behind the wheel.